Install WordPress Pete on a VPS (Virtual Private Server)
Supported Operating Systems
- Ubuntu-16.04 LTS
- Ubuntu-18.04 LTS
- Ubuntu-20.04 LTS (Recommended)
Requirements:
- VPS or Dedicated Server
- SSH root access
1.Open the Terminal and access your VPS or dedicated server from the Terminal logging as the root user via SSH.

2. Copy and paste the installation command for WordPressPete in the Terminal and press enter and wait until the installation finishes
curl -o pete4_installer.sh -L https://wordpresspete.com/pete4_installer.sh && chmod 755 pete4_installer.sh && ./pete4_installer.sh
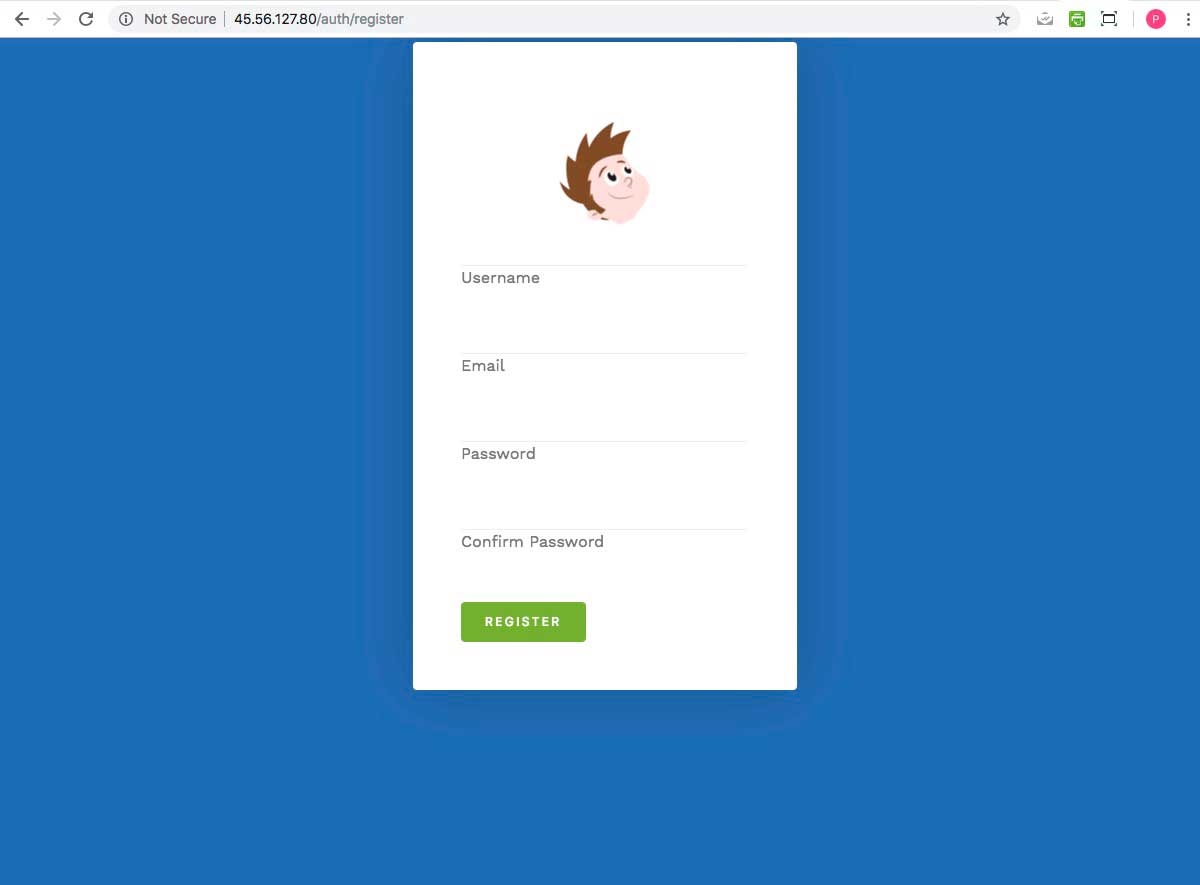
3. After the installation is finished browse to your IP address and create your admin account for WordPress Pete
Change PHP version
You will be able to change the active version of PHP. by clicking on the PHP ADMIN PANEL sidebar option

Default Location
| Apache | Path | ||
|---|---|---|---|
| Install Prefix | /usr/local/apache | ||
| Web root location | /var/www/ | ||
| Main Configuration File | /etc/apache2/apache2.conf | ||
| Virtual Host location | /data/www/virtual_host_names | ||
| Virtual Host log location | /data/wwwlog/virtual_host_names | ||
| Virtual Host conf | /etc/apache2/sites-available/virtual_host.conf |
| PHP | Path |
|---|---|
| Install Prefix | /etc/alternatives/php |
| Configuration files | /etc/php/7.1/apache2/php.ini /etc/php/7.2/apache2/php.ini /etc/php/7.3/apache2/php.ini /etc/php/7.4/apache2/php.ini |
| MySQL Location | Path |
|---|---|
| Install Prefix | /usr/local/mysql |
| Data Location | /usr/local/mysql/data |
| my.cnf Configuration File | /etc/my.cnf |
To see more please go to the: WIKI