MacOs Intel Chip Installation Guide
System Requirements for “WordPress Pete” on Intel-Based Chip

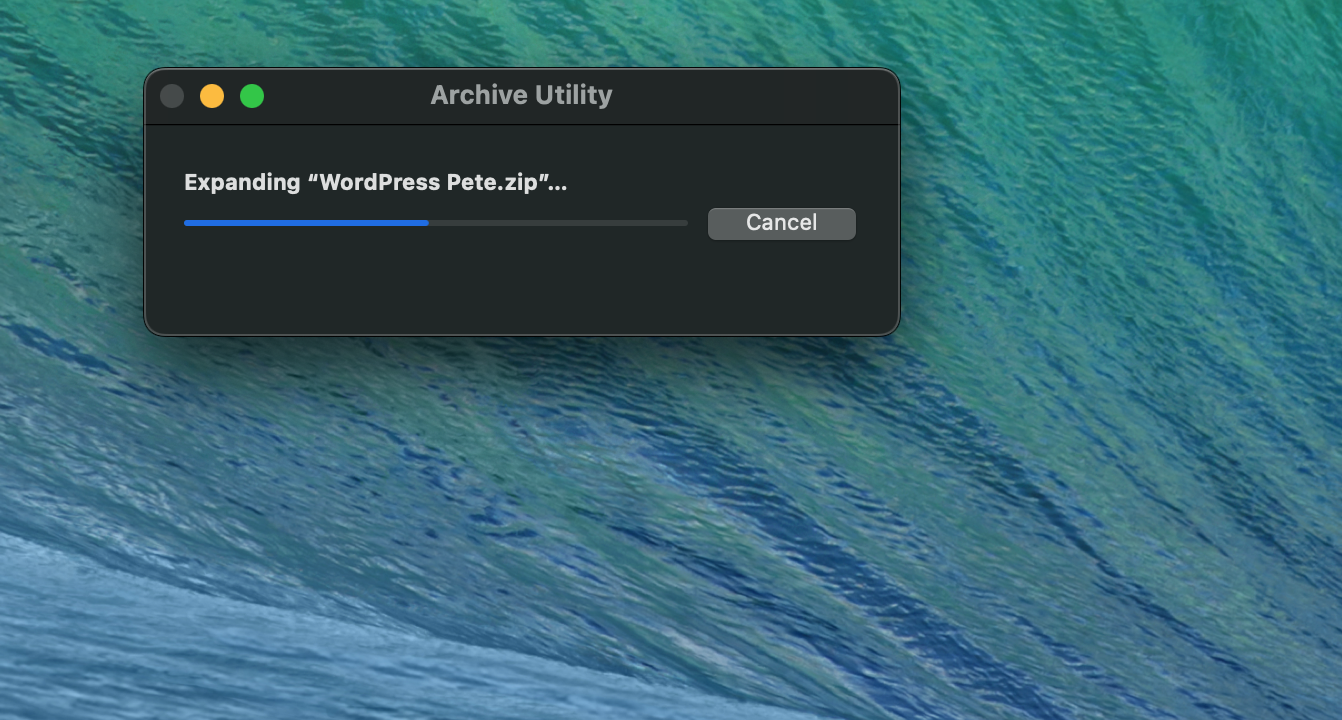
Step 3: Open the Folder Extracted
3.-Locate the extracted folder named WordPress Pete. Double-click to open the folder

Step 4: Run the Installation Process
Open the Install UTM.DMG FILE, and move the UTM application file into your Applications folder.
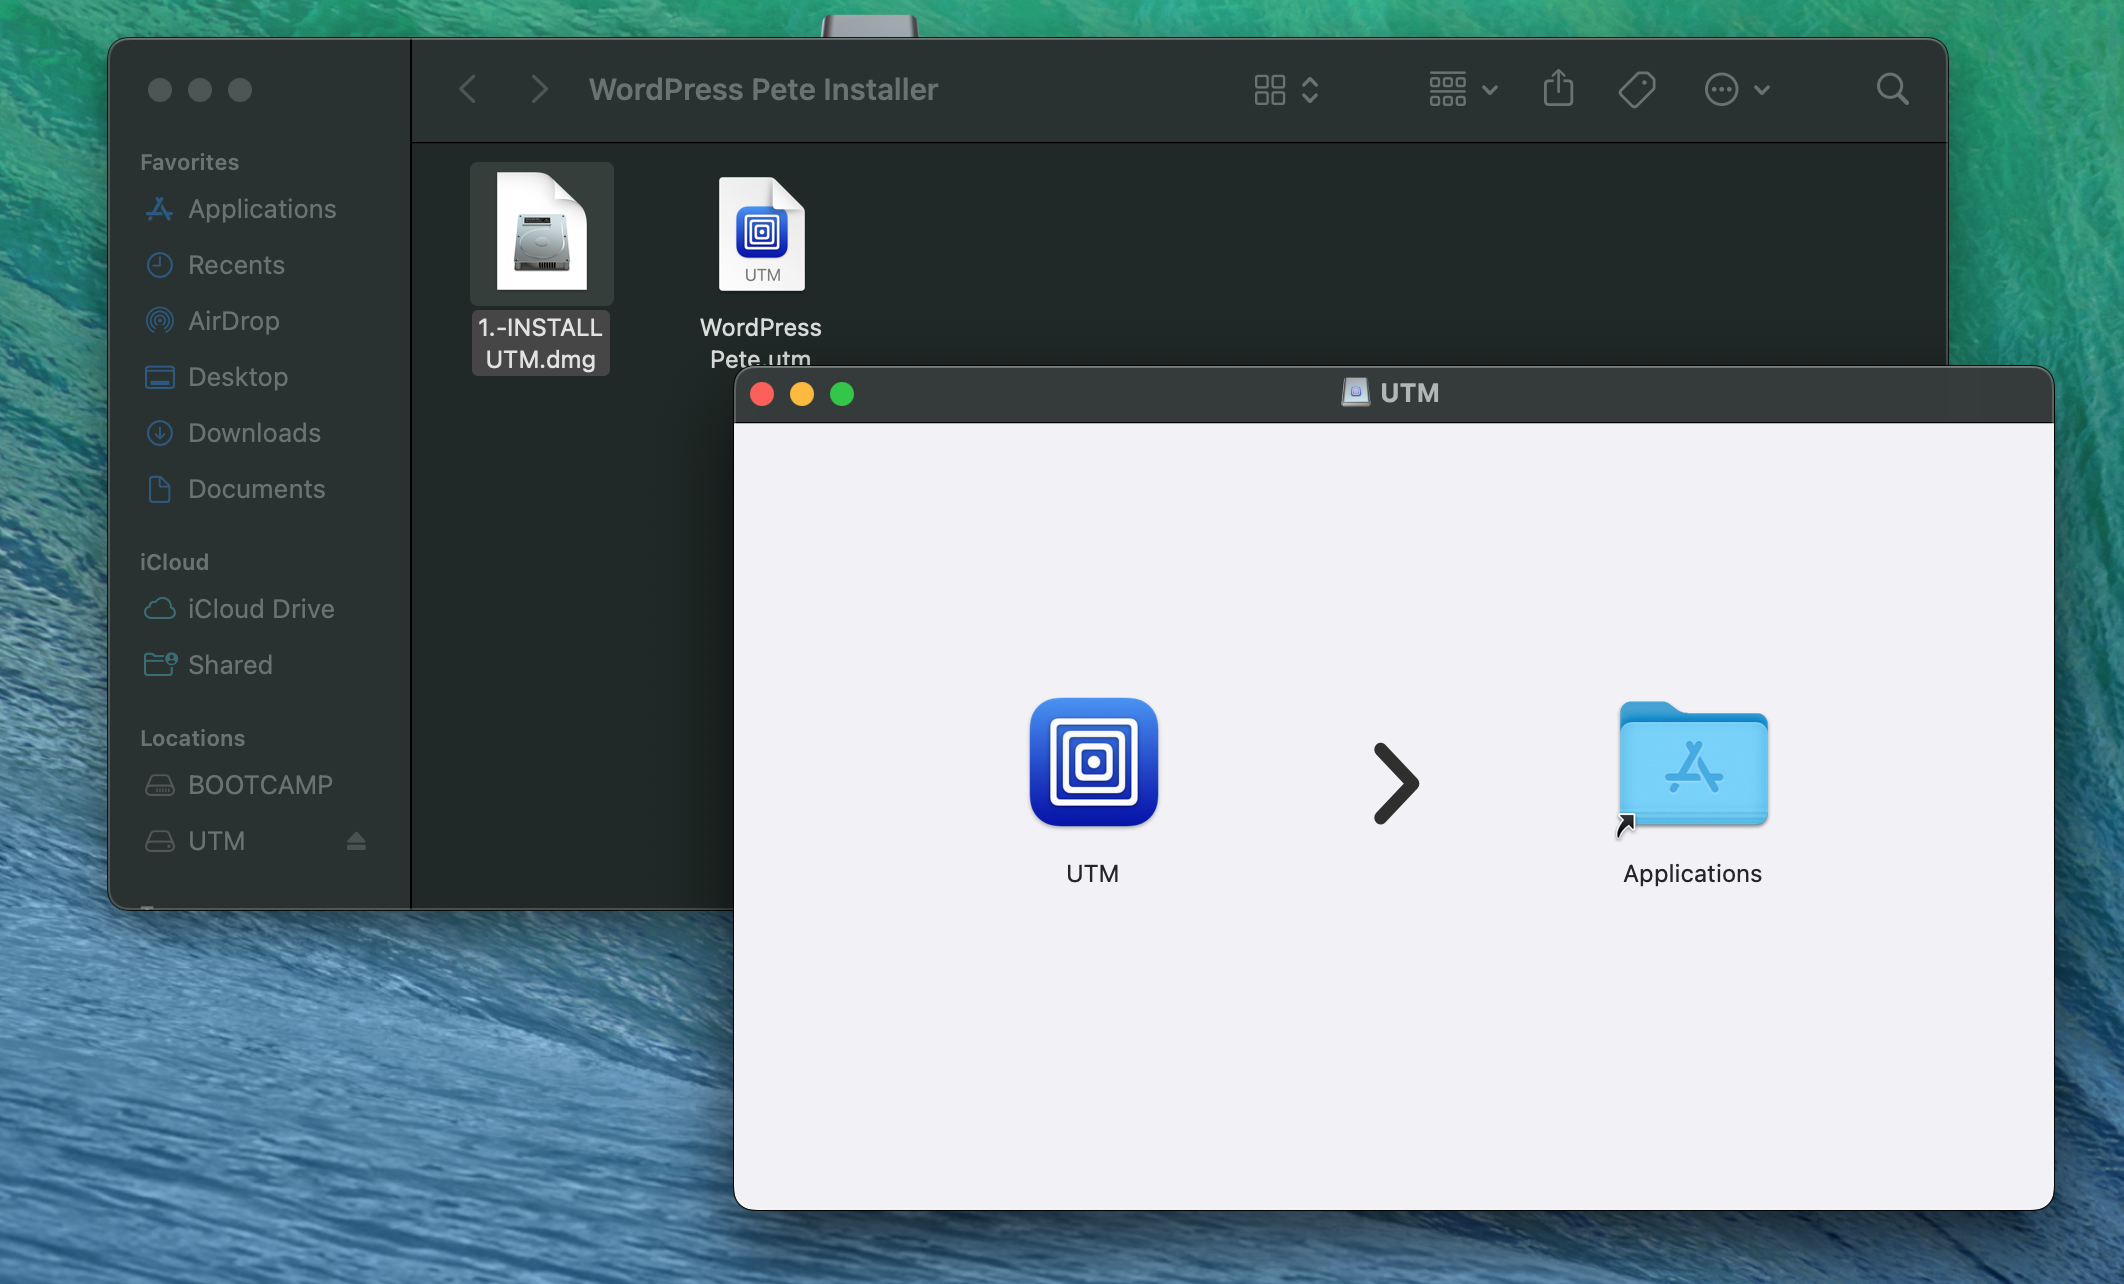
Step 5:
Find the WordPress Pete.utm file and make a copy of it.
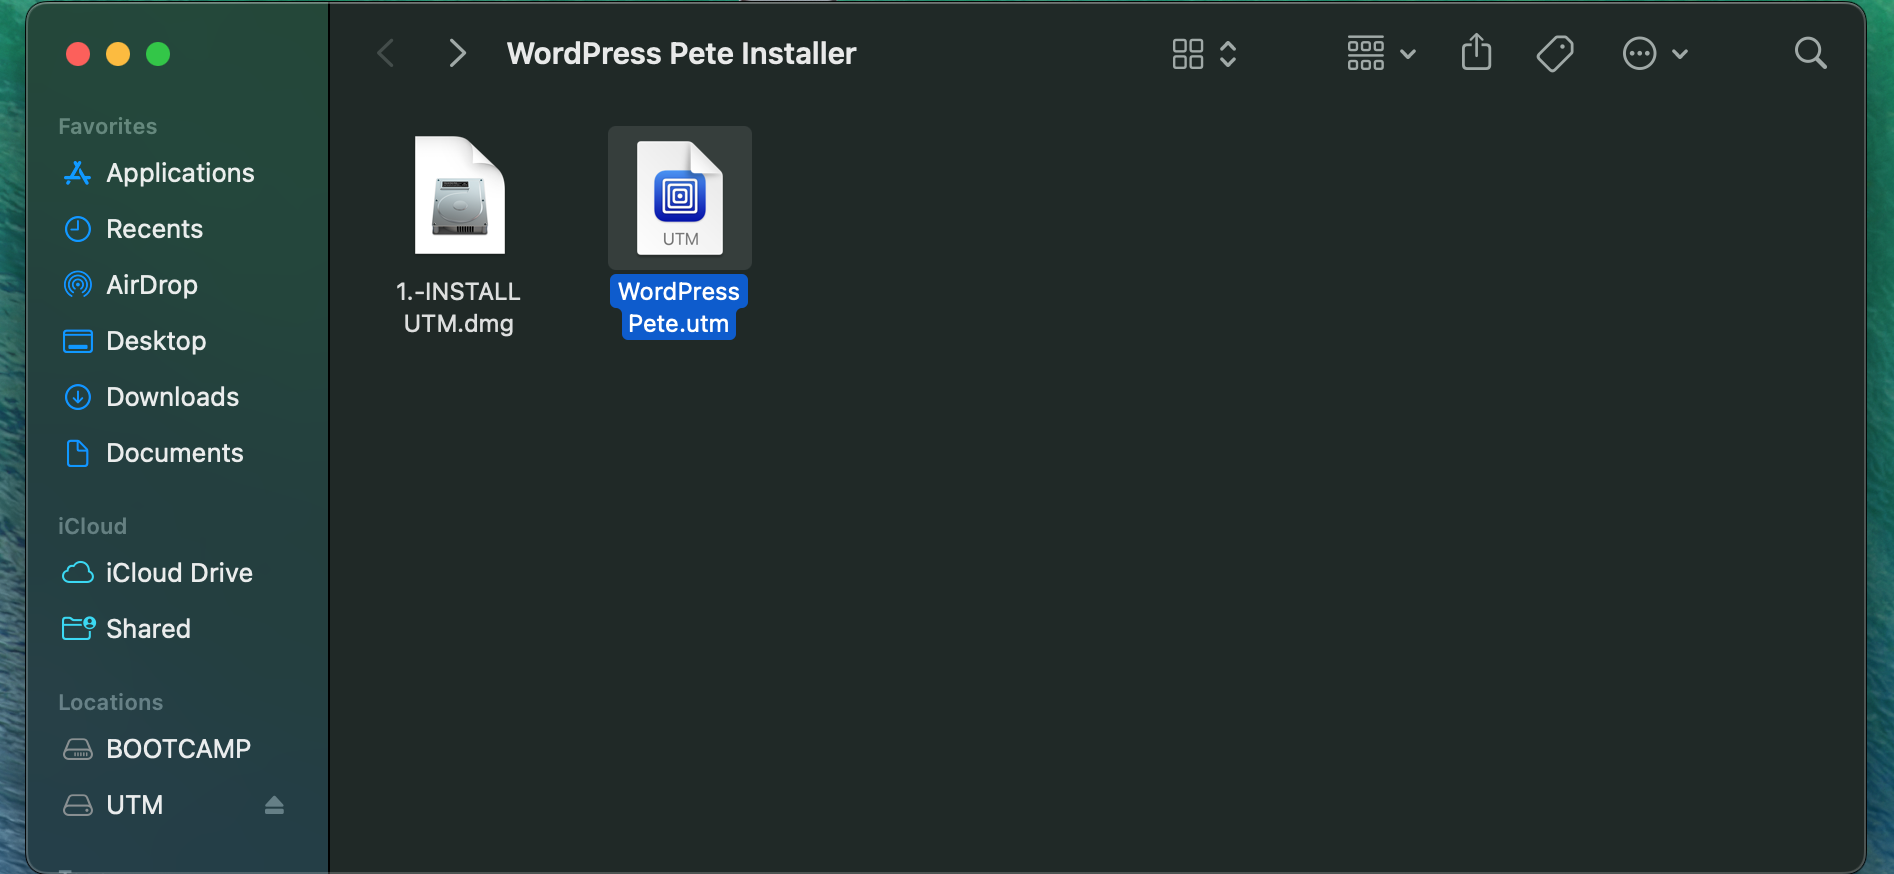
Step 5:
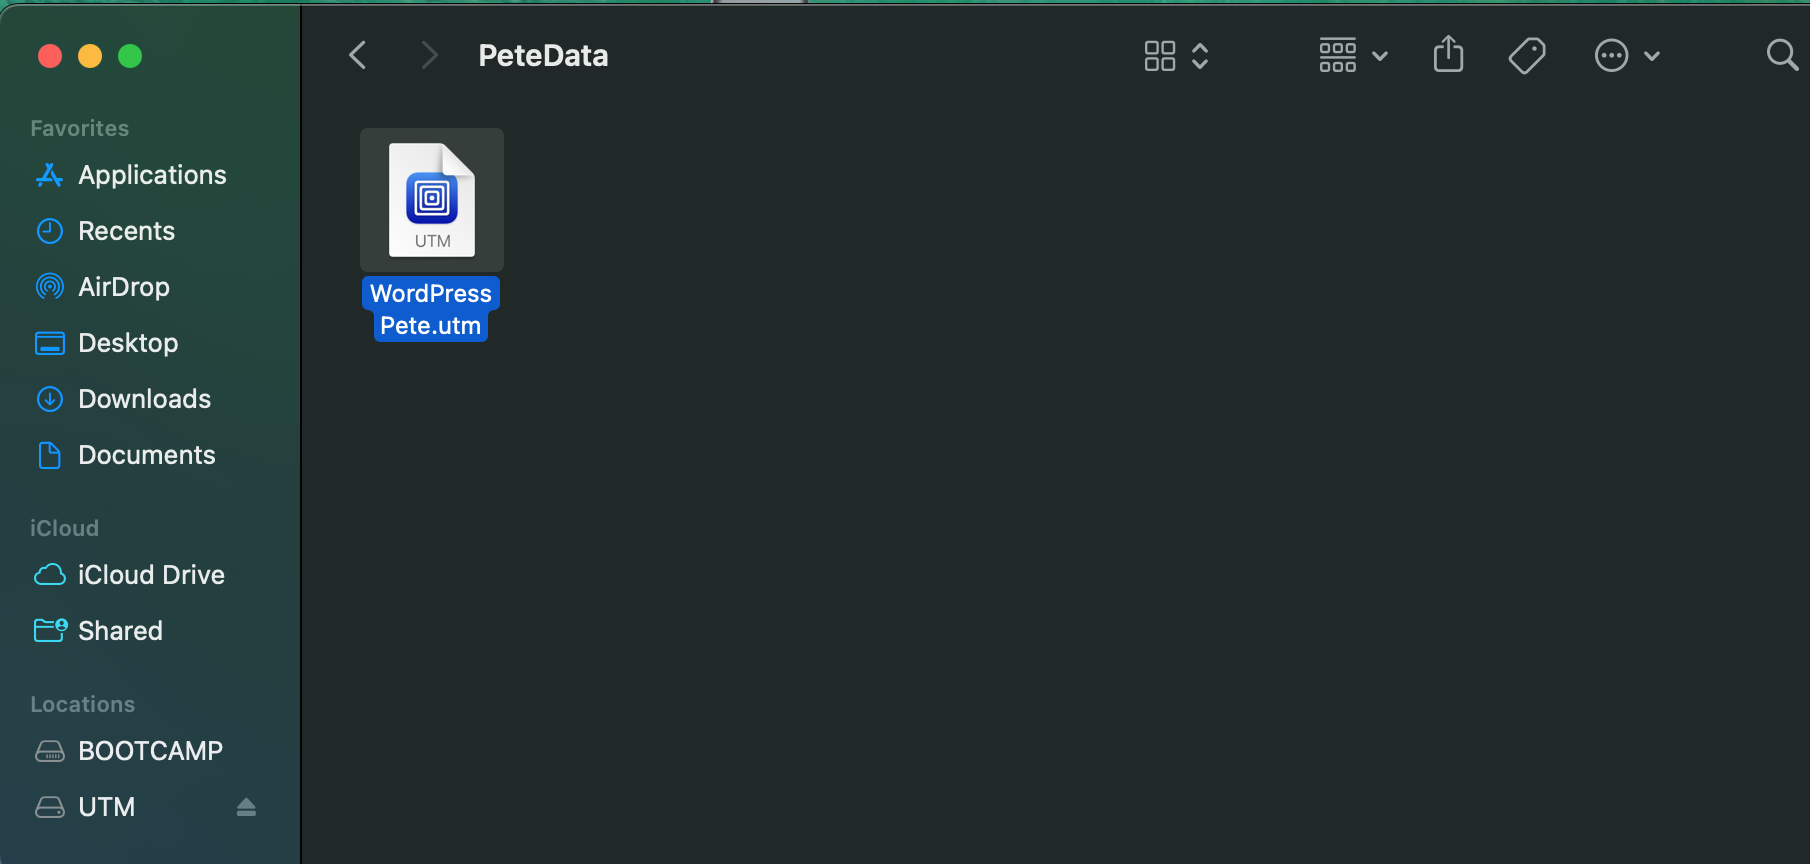
Create a new folder in your Documents folder and name it “PeteData”.
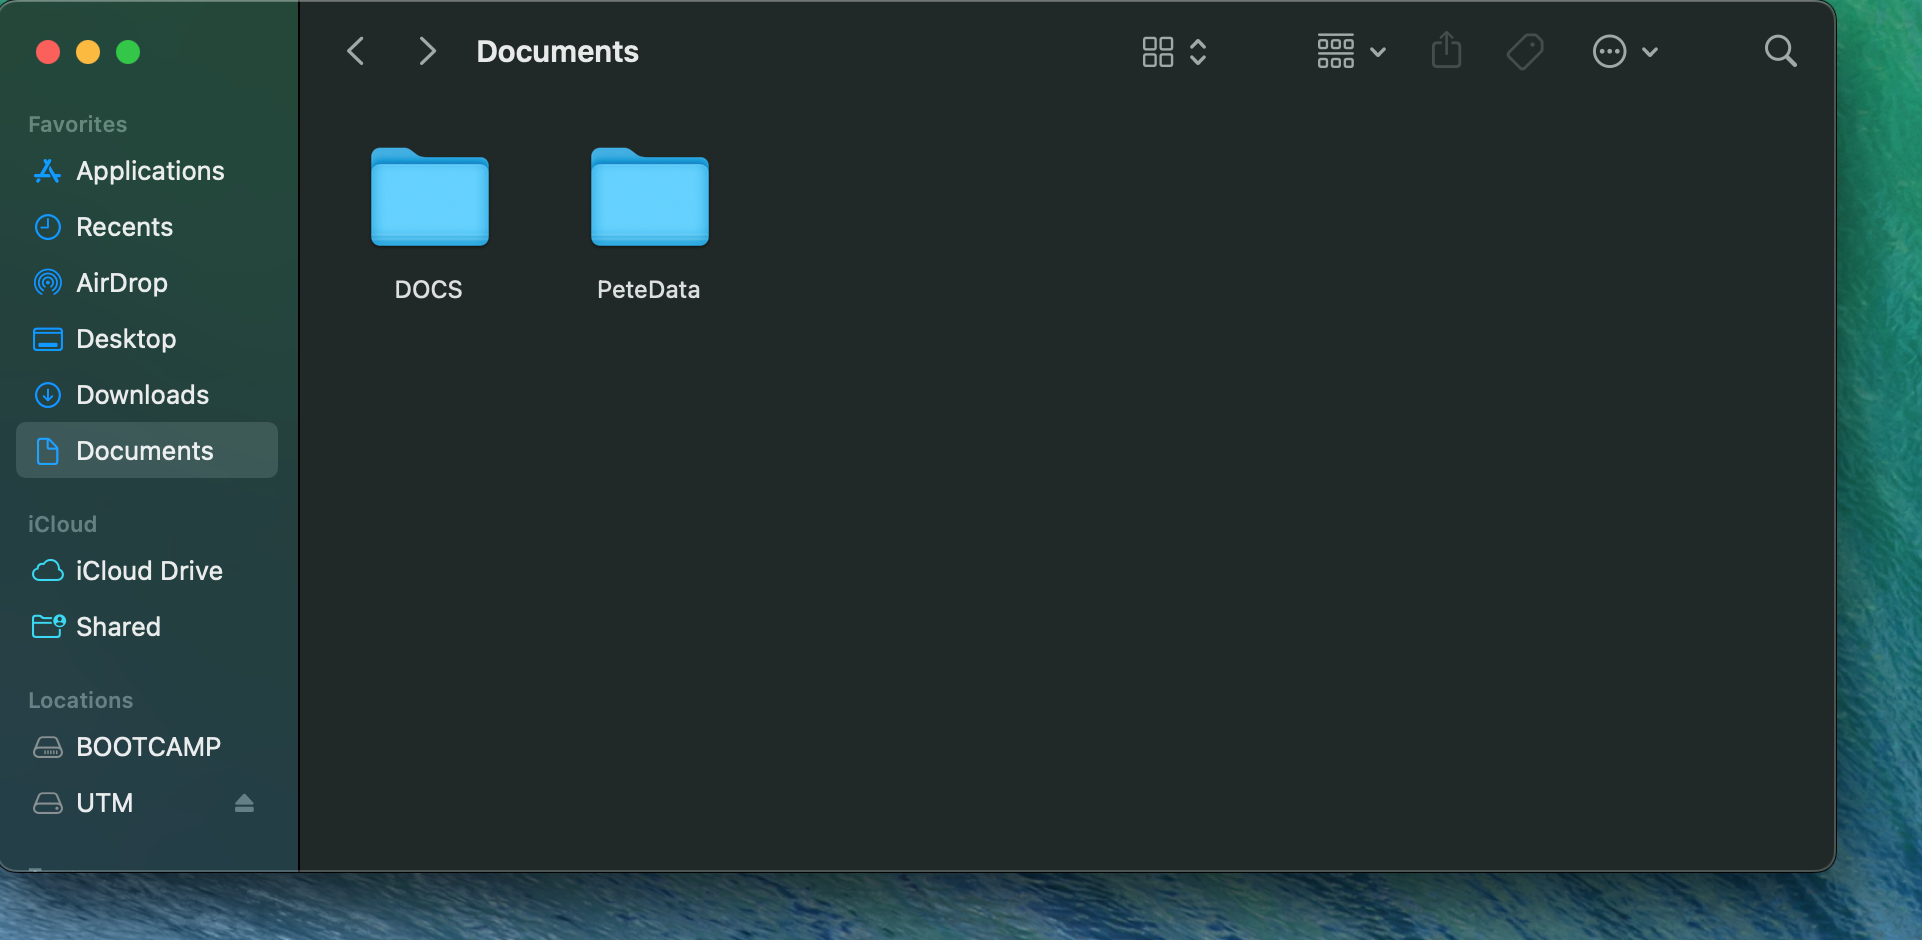
Step 6:
Open the PeteData folder, paste the WordPress Pete.utm file, and open it after copying.
Step 7:
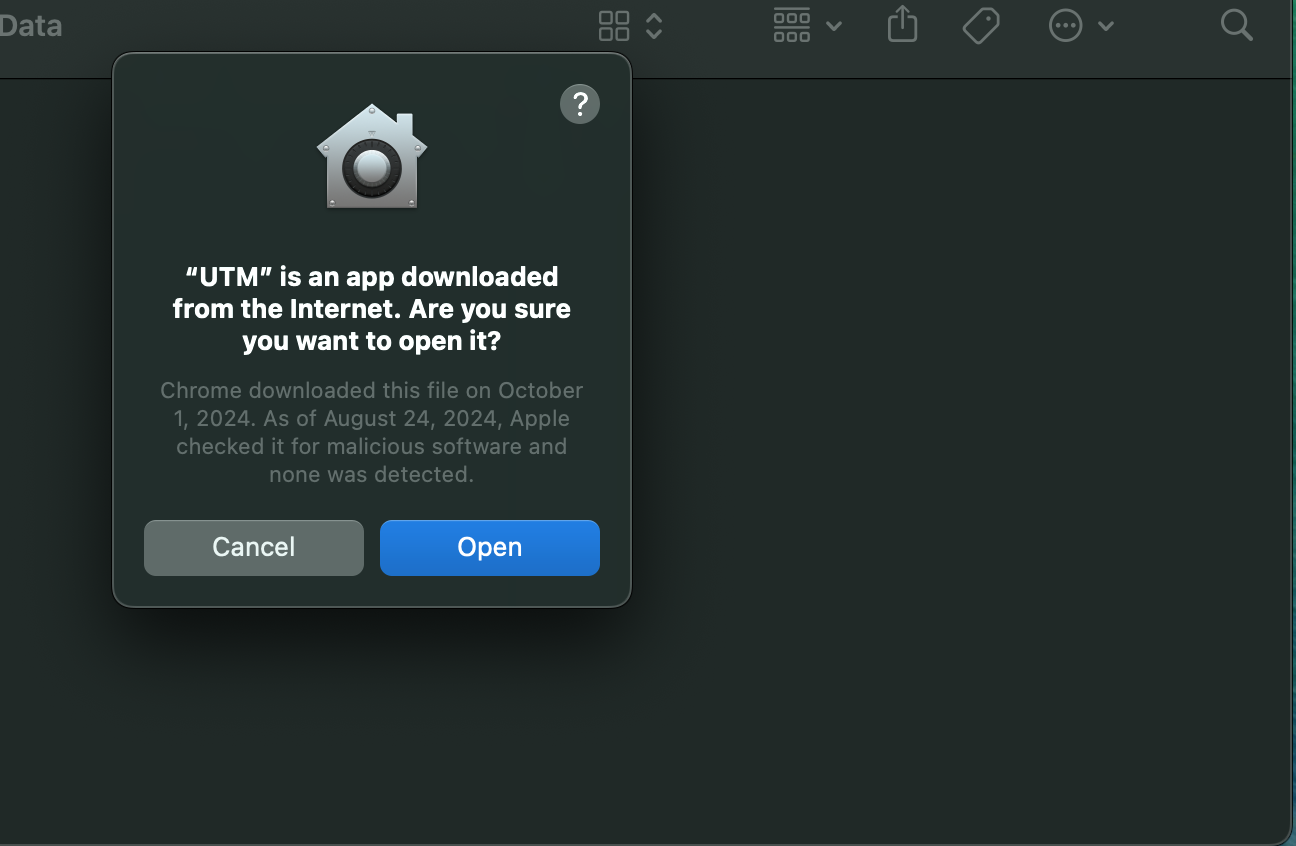
Upon opening the file, a warning message will appear indicating that it was downloaded from the internet. Click ‘Open’ to proceed
Step 8:
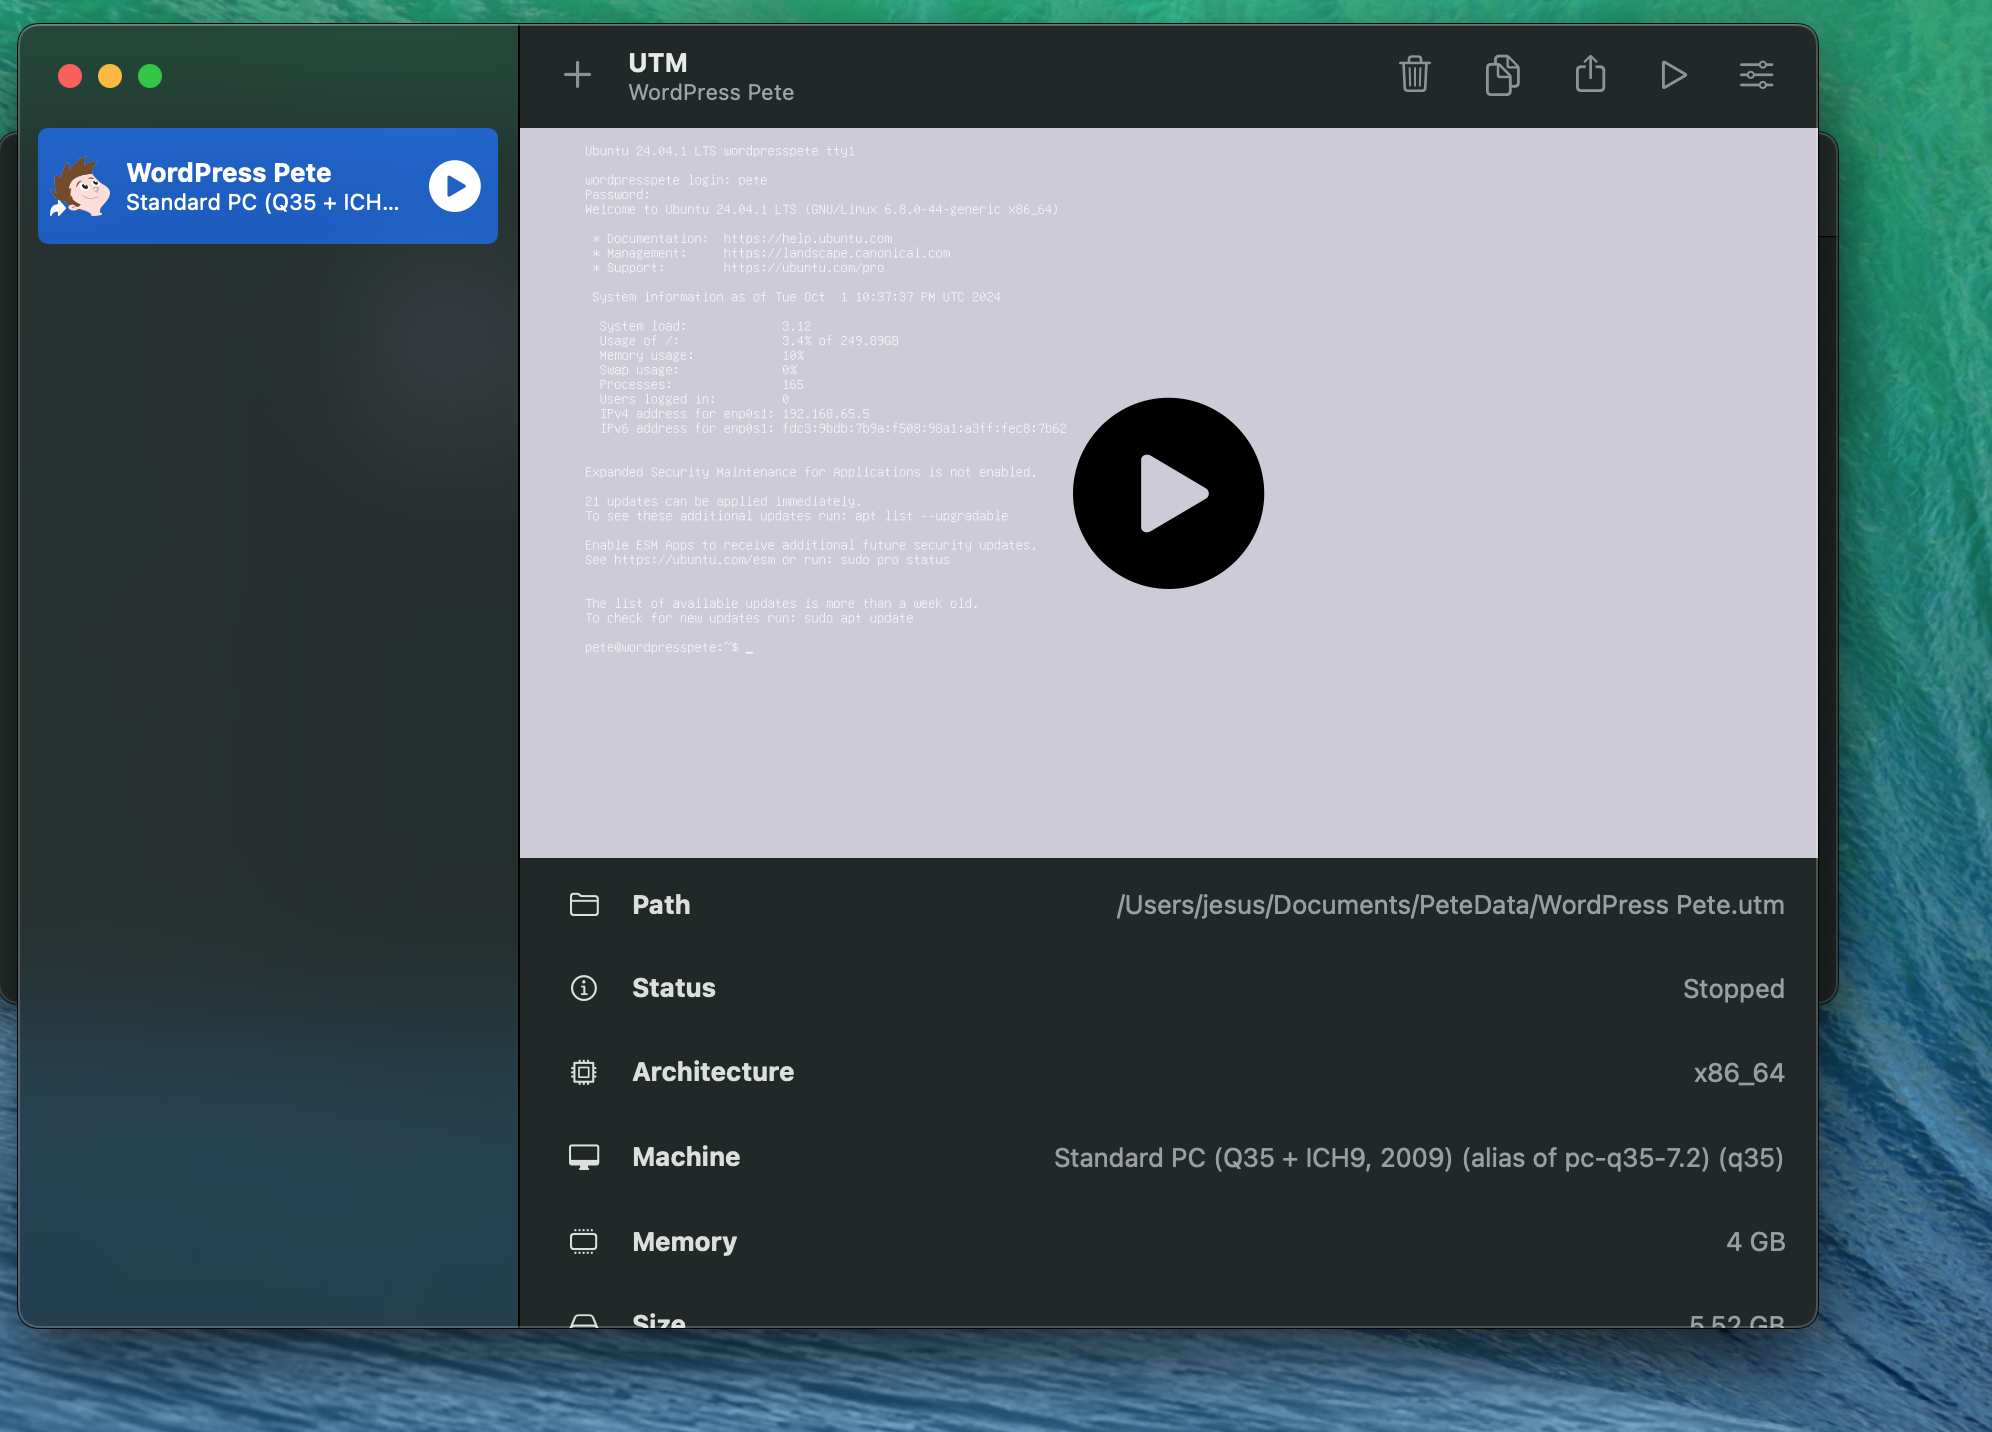
Once you open the UTM app, just click the ‘Play’ button to run WordPress Pete Machine.
Step 9:
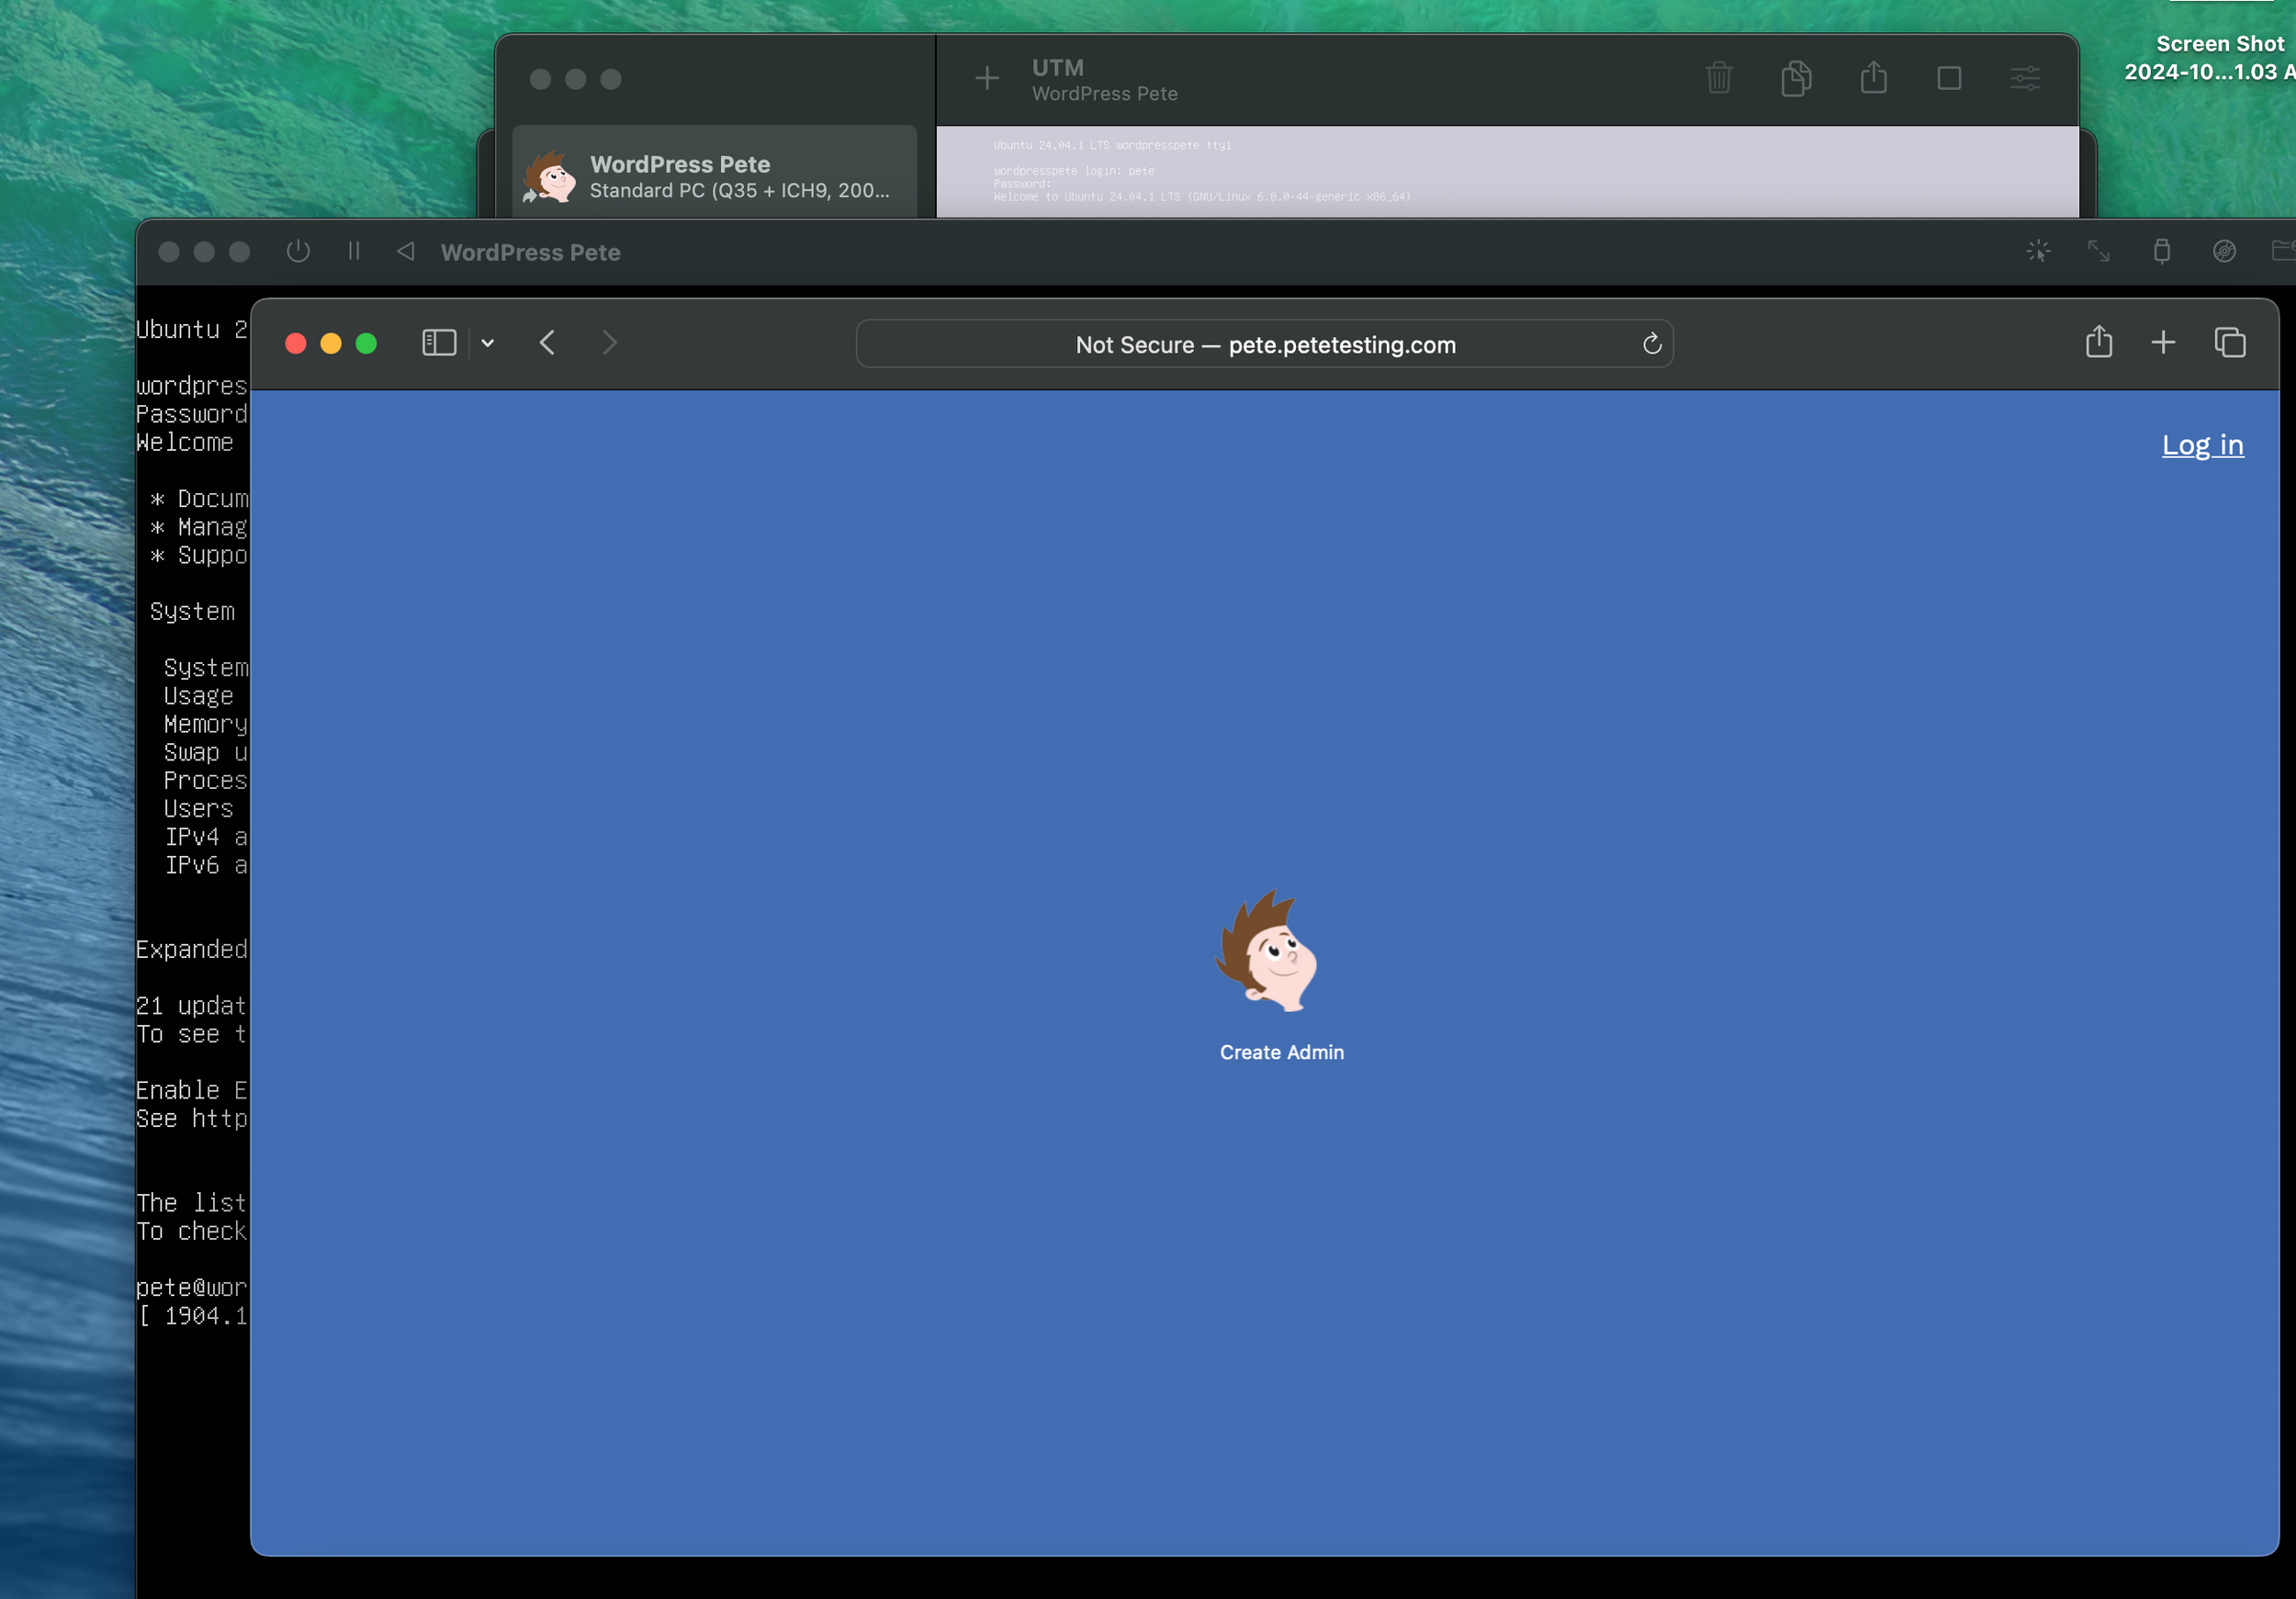
Wait for the operating system to start, then open your browser and go to pete.petetesting.com
ACCESS TO SSH MACHINE
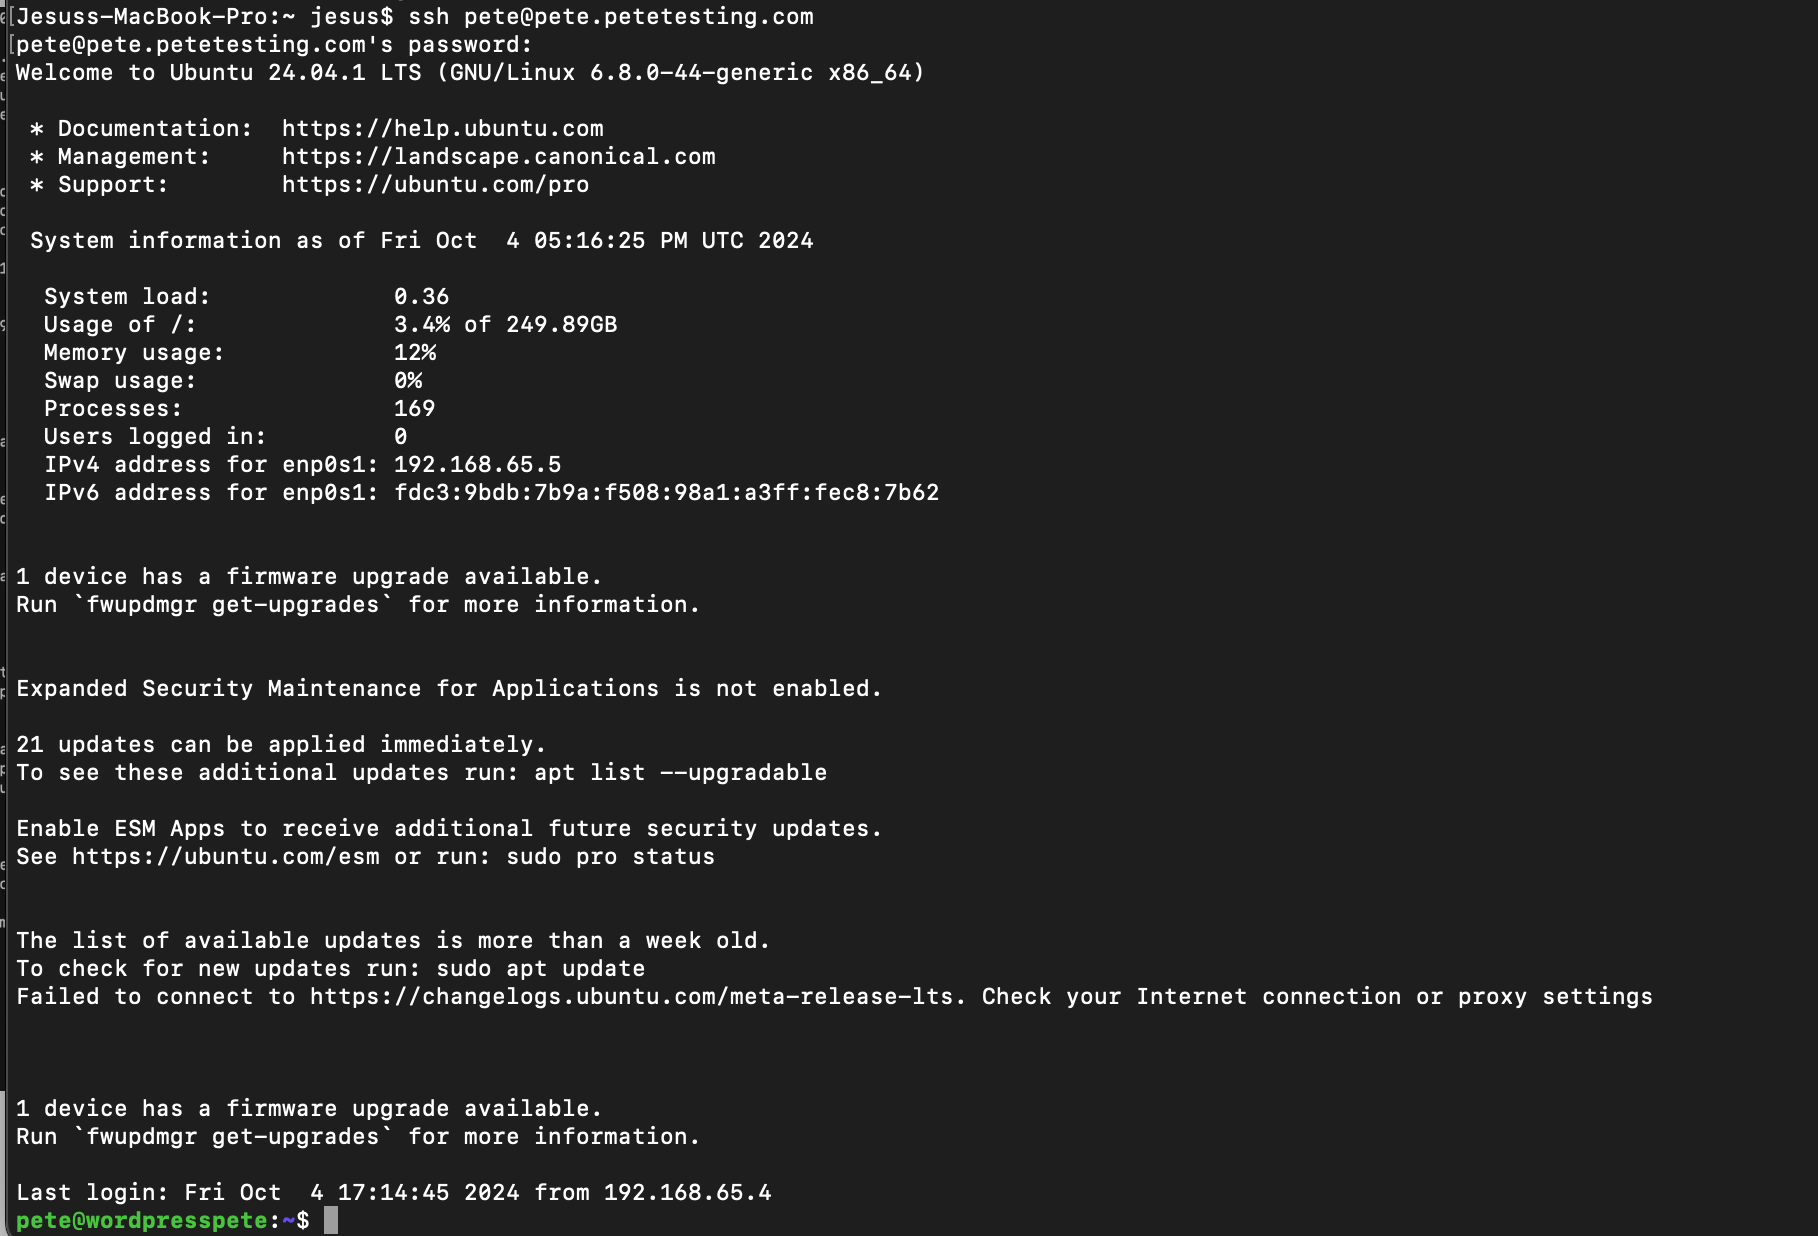
“When you need to perform an SSH operation, open the Mac Terminal and use the command ssh pete@pete.petetesting.com, then enter the password ‘pete’ to access the operating system terminal of the WordPress Pete machine.”
Connecting to the Server and Editing Your WordPress Pete Files
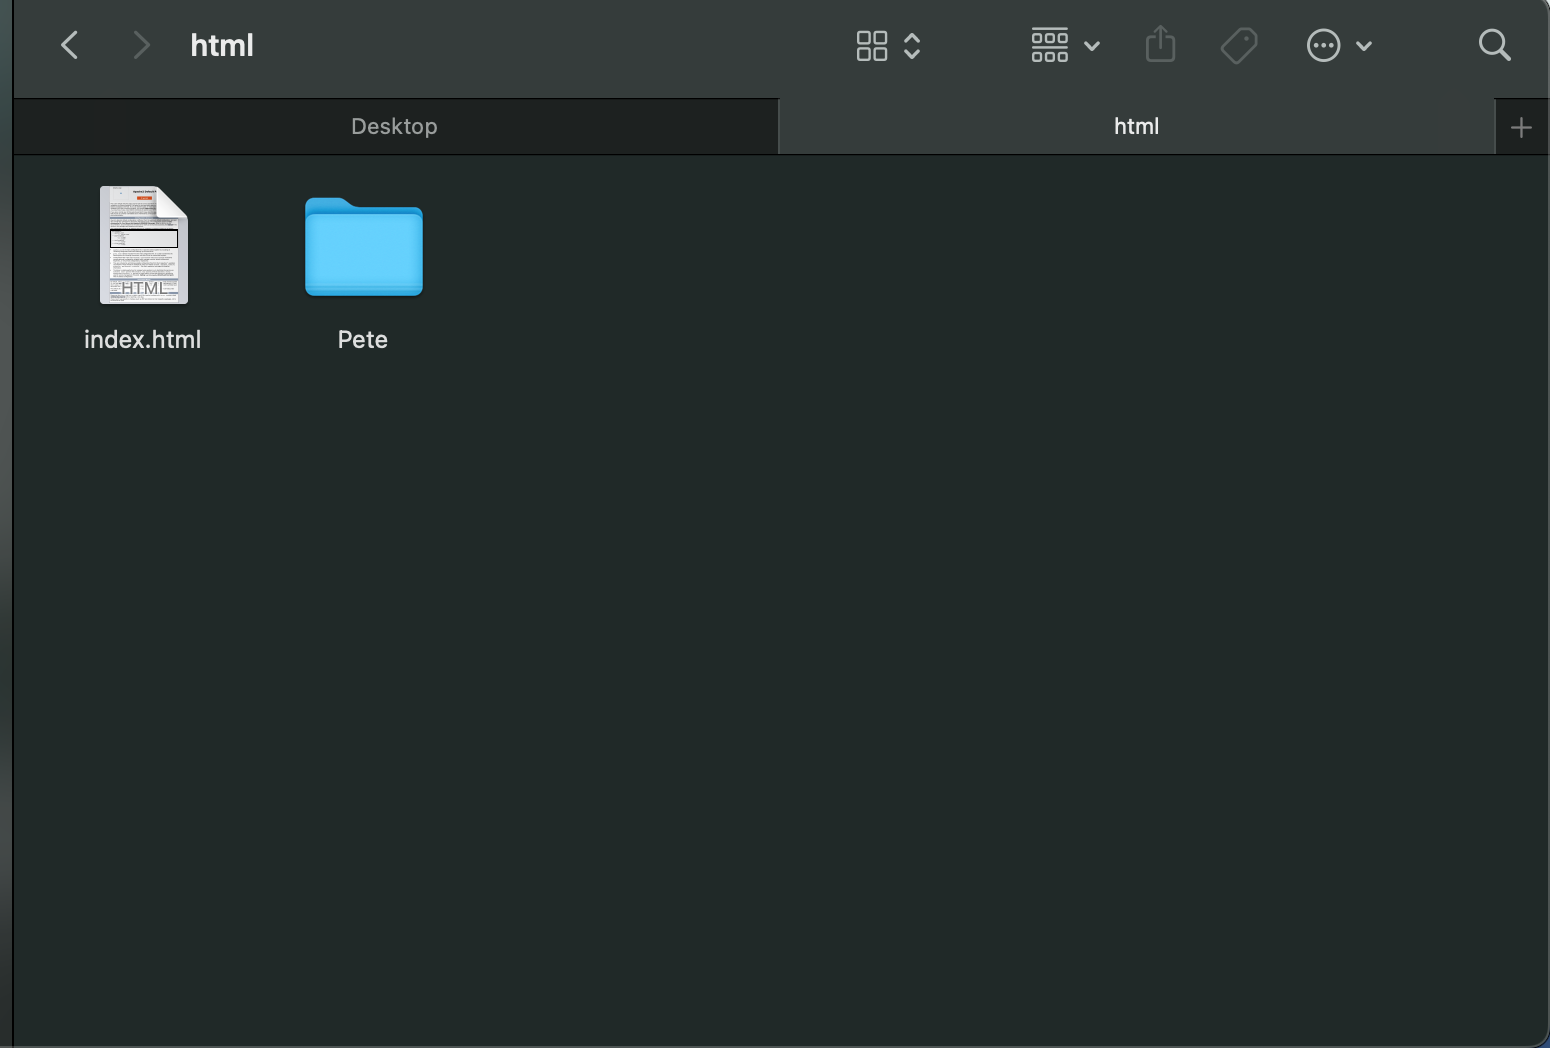
In Finder, open “Connect to Server,” then type smb://192.168.65.5/html and click “Connect.” When prompted, enter ‘pete’ as the username and ‘pete’ as the password.
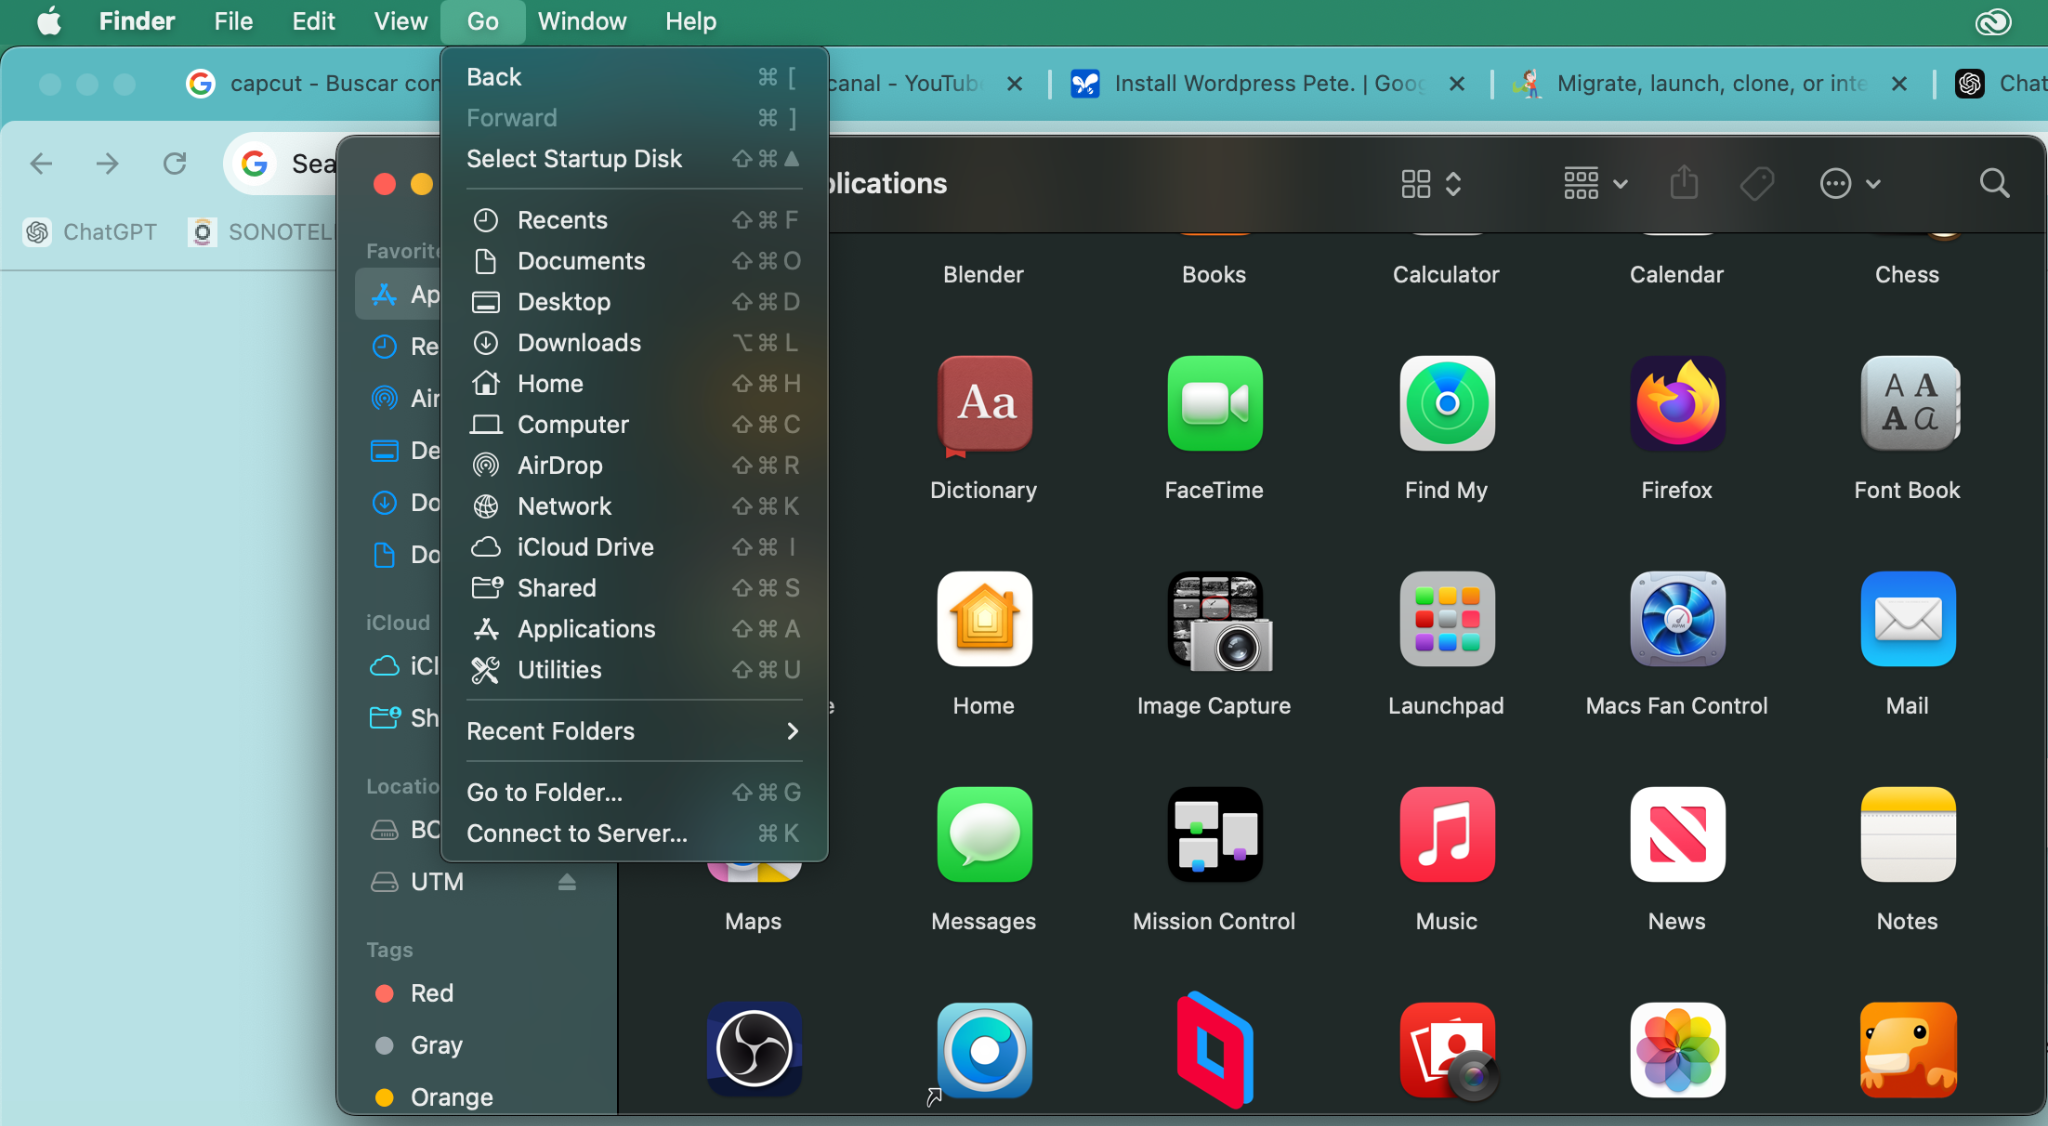
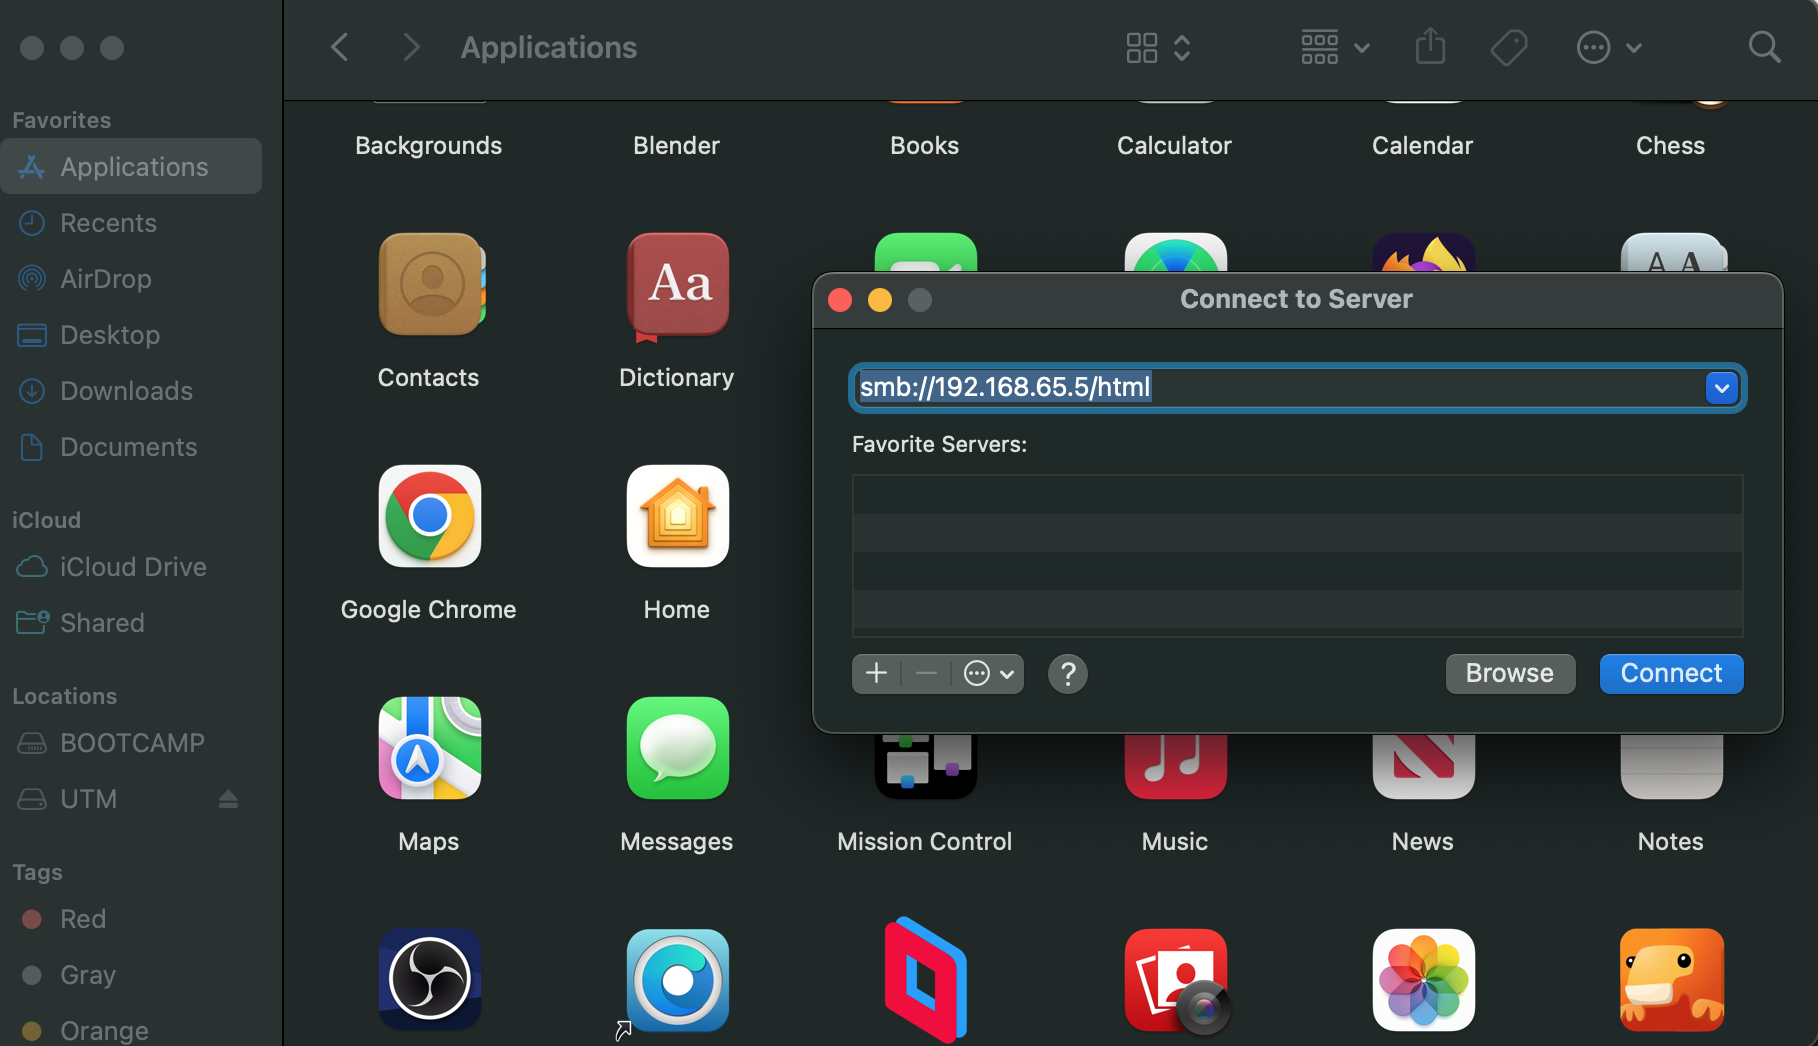
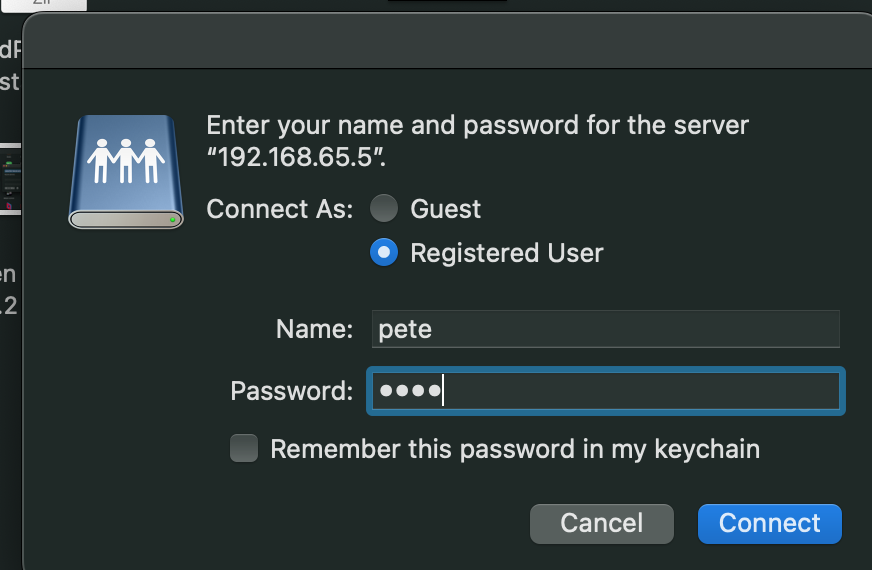
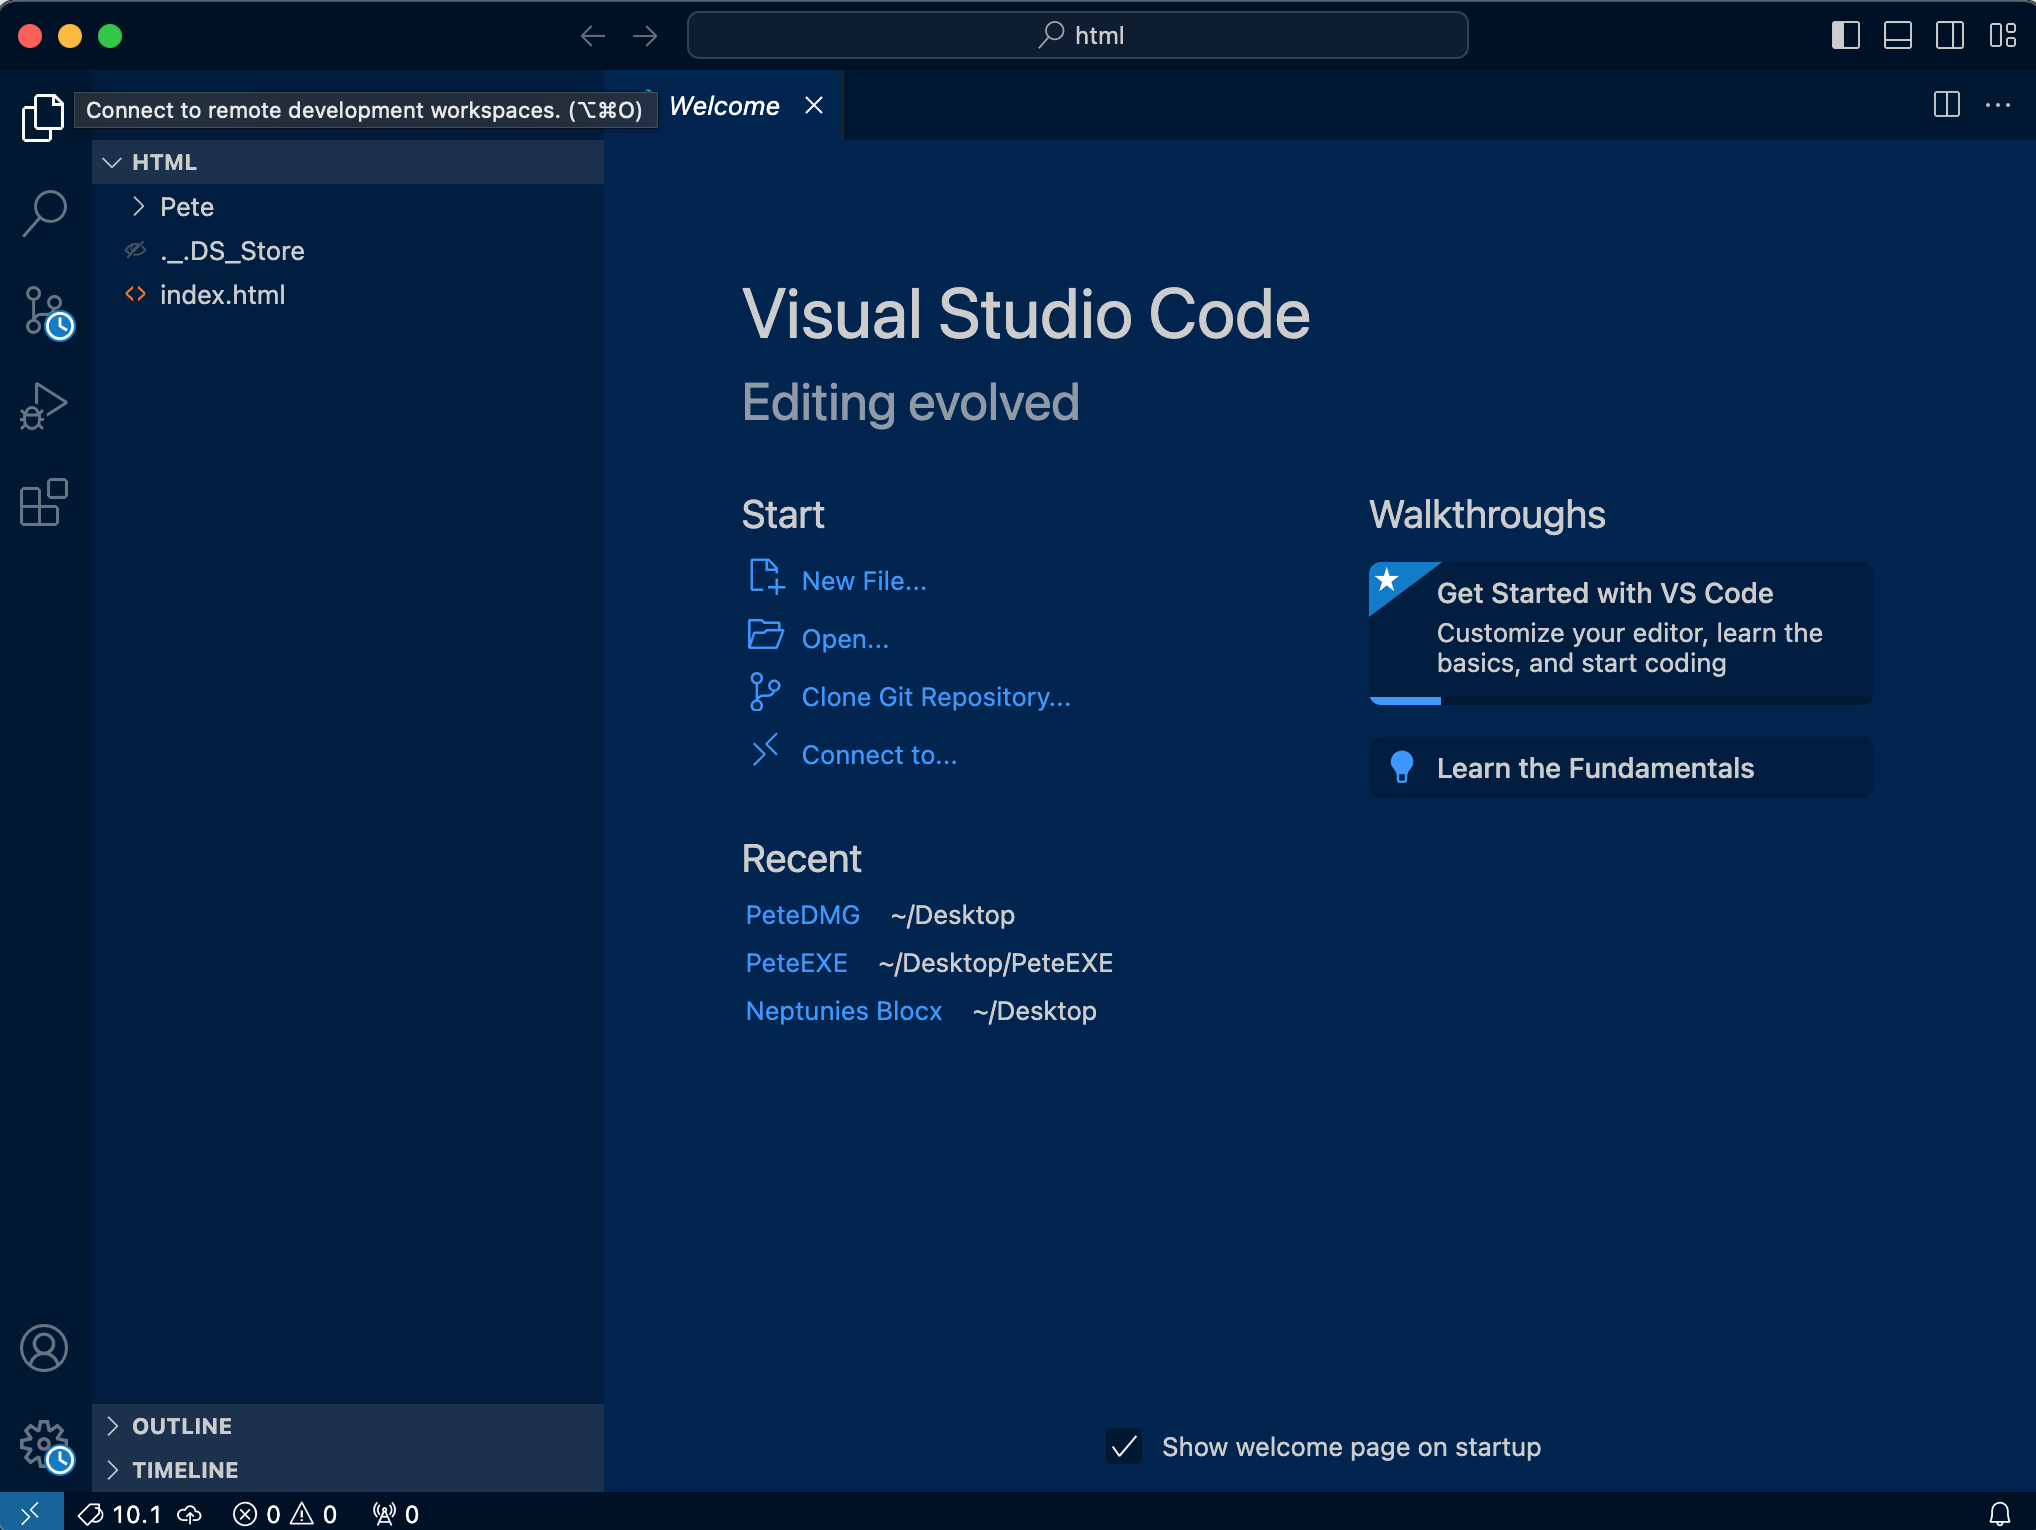
2.-Once connected, the device will appear as a folder, and you can open and edit files using any code editor like TextMate, Sublime, or Visual Studio Code
ENJOY NOW
PHP:
Supported PHP versions: 7.4, 8.0, 8.1
