General Installation Instructions
1 — Provision the server
-
Spin up a VM, VPS, or dedicated host on your preferred cloud provider.
-
Minimum spec: 8 GB RAM (more is always better).
-
Image: Ubuntu 24.04 LTS × 64-bit.
2 — Connect over SSH
From your local terminal, replace <PUBLIC_SERVER_IP> with the server’s address and connect as root:
ssh root@<PUBLIC_SERVER_IP>3 — Run the Pete installer
Paste the one-liner below into the SSH session; it downloads, makes executable, and launches the installer:
curl -o pete11_installer.sh -L https://wordpresspete.com/pete11_installer.sh \
  && chmod 755 pete11_installer.sh \
  && sudo ./pete11_installer.sh
4. Launch Pete in your browser
When the script completes, simply visit:
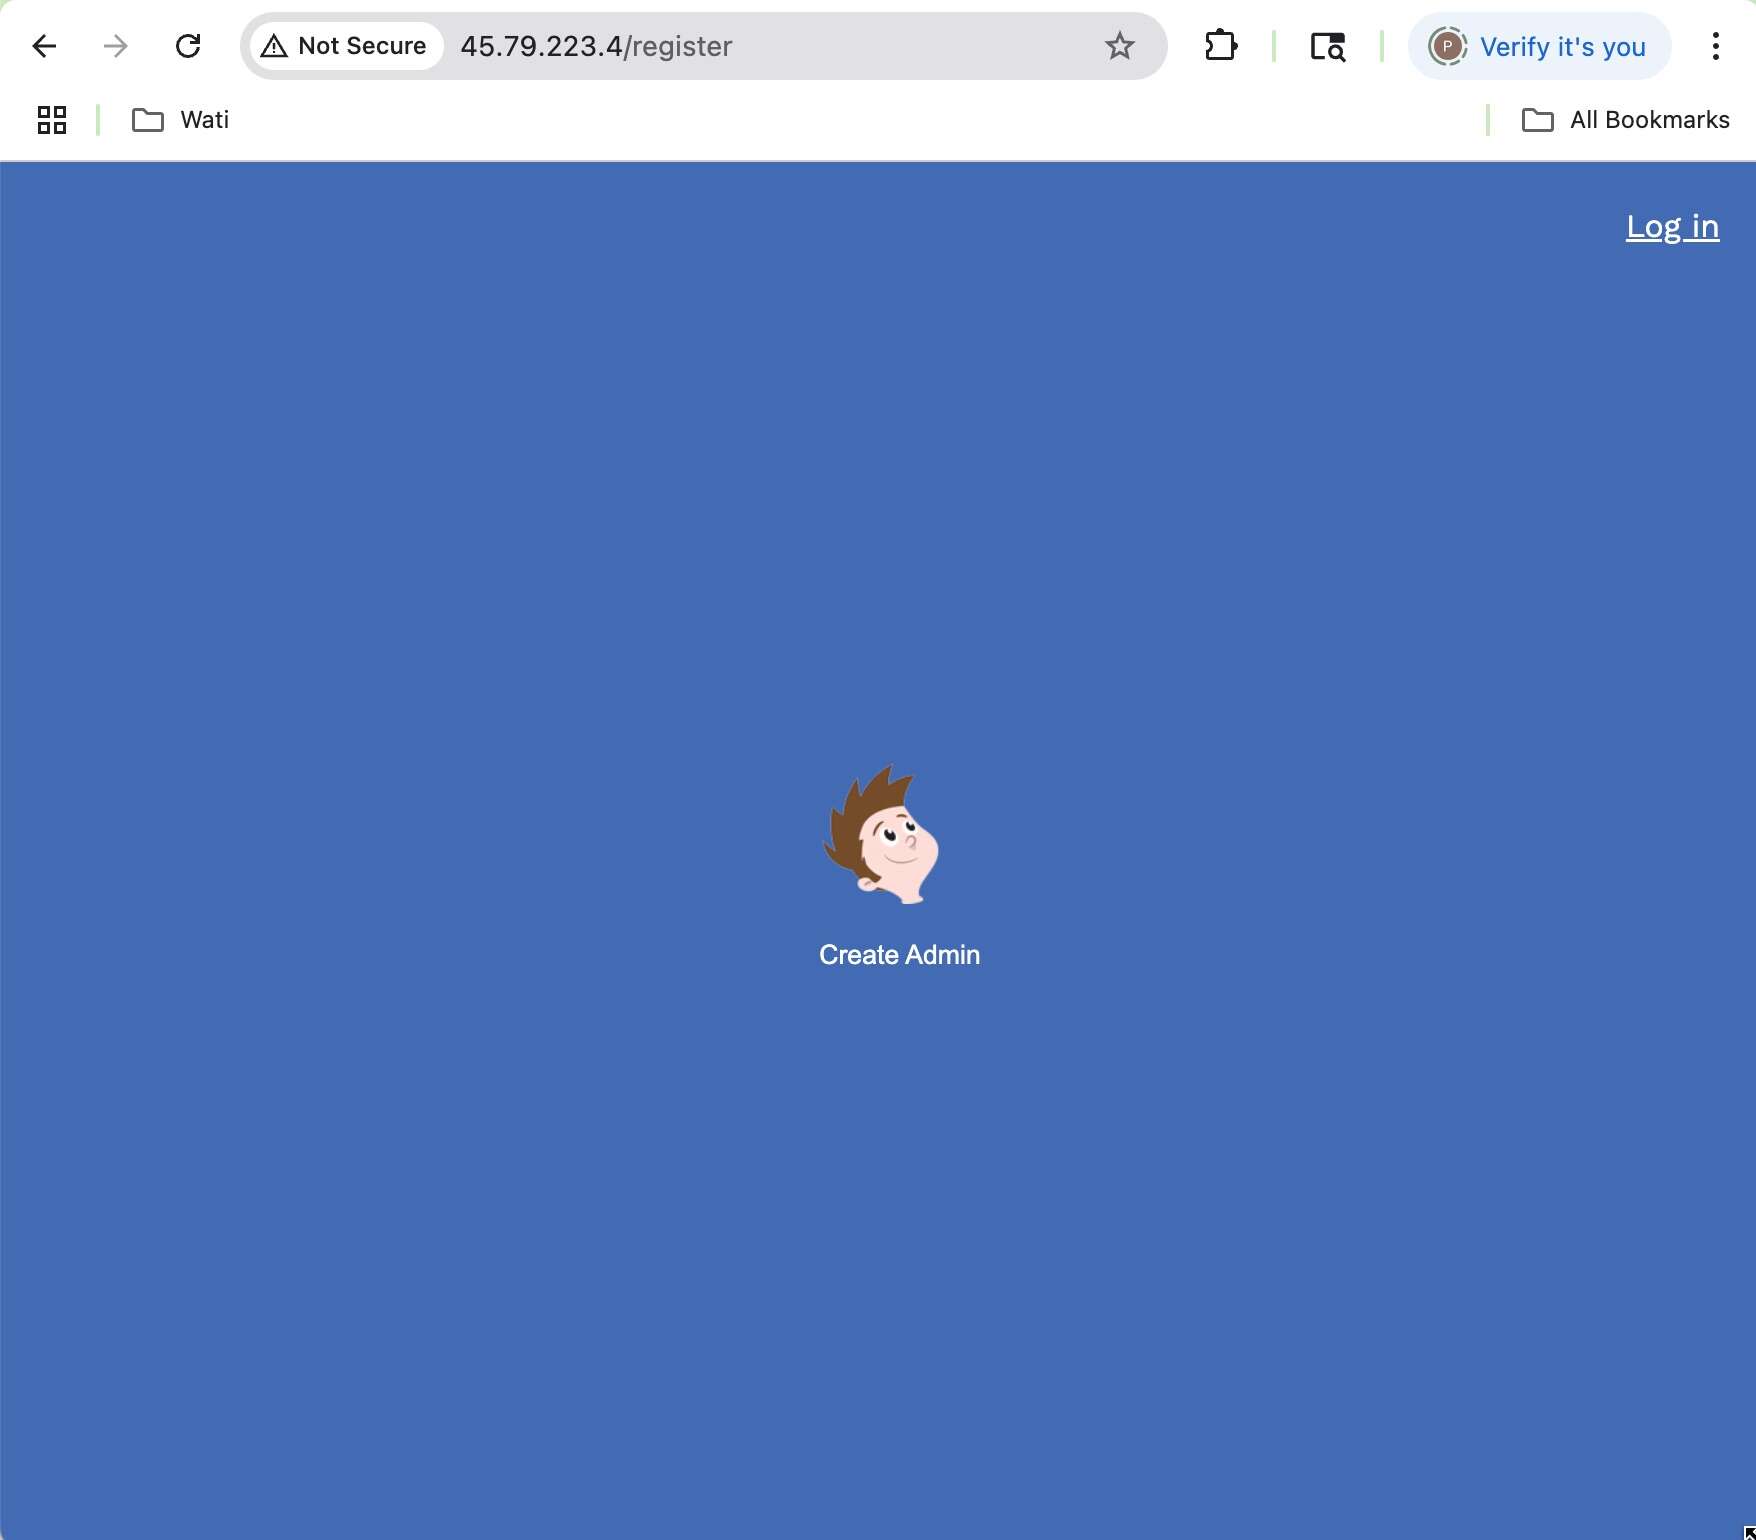
http://<YOUR_SERVER_IP>You’ll see the WordPress Pete dashboard ready for first-time setup.

5. (Optional — Recommended) Harden SSH & Firewall
Still connected as root, tighten basic security in one sweep
# ── Change SSH to a non-standard port (2222) ──
sed -i 's/^#\?Port .*/Port 2222/' /etc/ssh/sshd_config
systemctl restart ssh

# ── Refresh UFW rules ──
# drop old SSH port
ufw delete limit 22/tcp
# rate-limited new SSH port
ufw limit 2222/tcp
# Allow HTTP
ufw allow 80/tcp
# Allow HTTPS
ufw allow 443/tcp
ufw --force enable
Next time you connect:
ssh -p 2222 root@<YOUR_SERVER_IP>System Passwords & Environment Variables
All secrets generated during installation—database credentials, API keys, reload tokens, etc.—live in /opt/wordpress-pete/.env
# View the file (read-only)
sudo cat /opt/wordpress-pete/.env
Keep it safe
-
This file is the single source of truth for every password and token in your stack—treat it like a vault key.
-
Restrict access:
chmod 600 /opt/wordpress-pete/.env(owner-read/write only). -
Never commit it to version control or share it in support tickets.
Switching WordPress Pete to a Different PHP Version — Zero Downtime
1. Edit the version flag
sudo vim /opt/wordpress-pete/.envFind PHP_VERSION= and set it to 8.1, 8.2, or 8.3. Save & exit.
2. Re-build the PHP image
docker compose build --no-cache php3. Hot-swap the container
Launch the freshly built PHP container (no other services are touched)
docker compose up -d php4. Verify
Sign back in to WordPress Pete and visit /phpinfo_panel to confirm the new PHP version is active.
Docker Compose Cheat-Sheet
| Task | Command (inside your project folder) | When / Why you use it |
|---|---|---|
| WordPress Pete Docker project route | cd /opt/wp-pete-docker |
Browse to the project dir |
| Start or re-build the stack | cd /opt/wp-pete-docker && docker compose up --build |
Builds images if they changed and launches every service in the foreground. Hit Ctrl +C to stop. |
| Open a shell in a container |
|
Inspect logs, run WP-CLI / Artisan, edit files quickly. |
| Re-build after editing a Dockerfile | docker compose build --no-cache apachedocker compose build --no-cache phpdocker compose build --no-cache mysql |
Forces a clean image rebuild for wordpress, apache, or php after you tweak their Dockerfile. |
| Reset phpMyAdmin | bash docker compose down docker volume rm wp-pete-docker_pma_data |
Drops the pma_data volume so phpMyAdmin is regenerated on next up. |
| Delete all volumes (nuke-and-pave) | bash docker compose down -v |
Stops containers and removes every named/anonymous volume—irreversible. |
| Restart Apache inside its container | bash docker compose exec apache bash -c "apache2ctl restart" |
Applies v-host changes without recreating the whole stack. |
| Where Apache keeps v-hosts | /etc/apache2/sites-available – staging configs /etc/apache2/sites-enabled – live symlinks |
Edit a file in sites-available, then run apache2ctl graceful (from inside the container). |
| Enter MySQL as root | docker compose exec mysql -u root -p (password = MYSQL_ROOT_PASSWORD in .env) |
Handy for one-off queries or importing .sql dumps. |
| Trigger graceful Apache reload from PHP / CI | bash curl -sf -H "X-Reload-Secret: $APACHE_RELOAD_SECRET" http://apache/internal-reload |
Lets a deploy script tell Apache to reload configs without restarting the container. |
