How to Install WordPress Pete on Google Cloud
-
Log in to Google Cloud Console
-
Visit console.cloud.google.com and sign in.
-
-
Navigate to VM Instances
-
From the main menu, select Compute Engine → VM instances.
-
-
Create a New VM Instance
-
Click the Create Instance button.
-
-
Configure Your VM
-
Enter a clear and descriptive name for your instance.
-
Under Machine configuration, choose the machine type (E2 series is recommended for this tutorial).
-
-
Set Operating System and Storage
-
Under Boot disk, click Change.
-
Select Ubuntu as the OS, version 24.04 LTS.
-
Set the disk size to at least 30 GB, then click Select.
-
-
Configure Network Settings
-
Under Firewall, ensure both Allow HTTP traffic and Allow HTTPS traffic checkboxes are selected.
-
-
Create the VM
-
Click Create at the bottom of the page to provision your new virtual machine.
-
-
Access VM via SSH
-
Wait for GCP to finish provisioning the VM.
-
Once provisioned, click the SSH button next to your VM instance to open a secure browser-based terminal.
-
-
Run the WordPress Pete Installation Script
-
In your SSH terminal, copy and paste the WordPress Pete installation command:
-
curl -o pete10-4-stand-alone.sh -L https://wordpresspete.com/pete10-4-stand-alone.sh && chmod 755 pete10-4-stand-alone.sh && sudo ./pete10-4-stand-alone.shAccess Your WordPress Pete Instance
-
Once installed, copy your VM’s public IP address from the VM Instances page.
-
Open your browser and paste this IP address starting with
http://(initial access does not use HTTPS). -
You should now see your WordPress Pete environment up and running.
Tutorials
Deploy a WordPress Laravel Integration using Pete’s superpowers
Let's start this tutorial after having done this: Handling woocommerce orders from Laravel using Pete’s superpowersThen migrate our saveaplaya site to a WordPress Pete in production. To know how to do this, read this tutorial: Migrate your WordPress site to the cloud...

Handling woocommerce orders from Laravel using Pete’s superpowers
1. Let's start by creating a new WordPress and Laravel integration from WordPress Pete.2. For this tutorial, we will use Laravel 8, and the name of our Laravel app will be woodashboard. You must have previously imported a WordPress site.3. We can verify everything is...
Hardening your WordPress site with WordPress Pete and Mod Security
WordPress Pete with coreruleset v3.3 out of the box and other good practices. You won't have to worry about most hack attacks. You can also disable or enable the mod_security firewall at your convenience if you are developing any feature of your site to avoid false...

Install a SSL certificate to a WordPress site using WordPress Pete
For this example we will use the domain wordpresspete.org which is pointing to a WordPress Pete installation. To see how to do this check out this tutorial: Point a domain to a WordPress Pete in production environment1. For this example we purchased an SSL certificate...
Migrate your WordPress site to the cloud using WordPress Pete
For this example we will use the domain peteteting.com which is pointing to a WordPress Pete installation. To see how to do this check out this tutorial: Point a domain to a WordPress Pete in production environment1. Using the input file1. Check that the domain you...
Point a domain to a WordPress Pete in production environment
Let's start by following the tutorial for installing WordPress Pete on Google Cloud Platform.Once you have installed WordPress Pete correctly go to the settings panel of your domain provider, for this example we will use a godaddy.com domainUse your domain provider's...
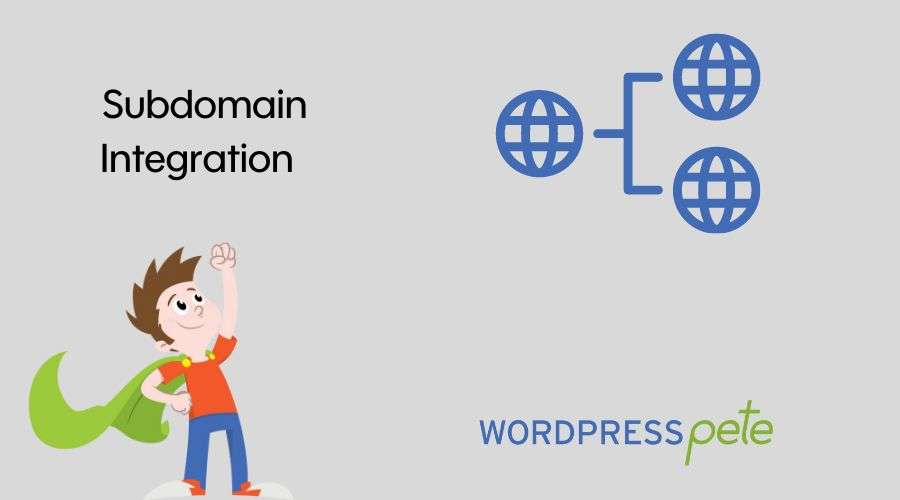
Create a WordPress + Laravel integration using a subdomain
1. Make sure you have imported your site into WordPress Pete correctly. For this example, we will use the saveaplaya.org site2. Lets browse to the Premium plugins section and let's download the plugin, then we will install it on the site3. Now we will activate the...
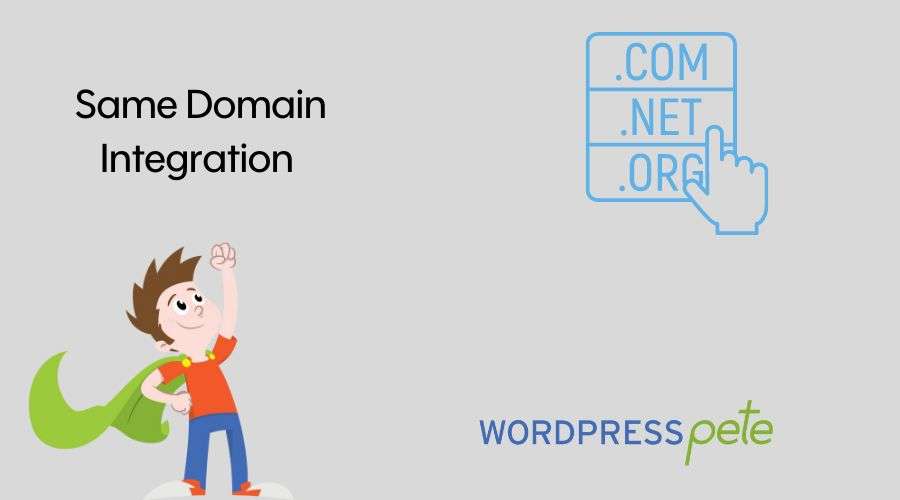
Create a WordPress + Laravel integration in the same domain
1. Make sure you have imported your site into WordPress Pete correctly. For this example, we will use the saveaplaya.org site2. We will make sure that we have the WordPress + Laravel plugin for WordPress Pete installed. You must have the standard license to be able to...
Create a WordPress Pete file manually
To create a WordPress Pete we need three files: the website folder, the database in a SQL file and the file config.txt For this example, we are going to create the WordPress Pete manually file for the nostalgiosity.com site. 1. We are going to use the file manager of...

Register your WordPress Pete
To register your Premium license of WordPress Pete Click here to go to the pricing page and click button “Buy Now” Below Premium License.2. Once you have purchased the premium membership and have logged into your account. Click on the API Key Generator option that...